


This is a series of articles on creating a color picker in SwiftUI. In this article, we will implement a process that allows knobs to be moved with a drag (pan) gesture.
Use DragGesture in SwiftUI
In UIKit, the gesture of tracing a finger across the screen is known as “panning” in iOS and iPadOS, while in macOS, a similar operation performed with a mouse or trackpad is termed “dragging”.
SwiftUI uniformly refers to these as “drag gestures” as it supports iOS, iPadOS, and macOS.
How to use DragGesture
To use drag gestures in SwiftUI, pass DragGesture to the gesture() modifier of the view in which you want to use the gesture.
var drag: some Gesture {
    DragGesture()
        .onChanged { dragValue in
            // Processing while dragging
        }
        .onEnded { dragValue in
            // Processing upon completion of a drag
        }
}

var body: some View {
        SomeView() // View using gestures
            .gesture(drag)
}
Implementation of the knob movement process
Implement the process of moving a knob with a drag gesture. First, we implement the drag gesture process.
Implement the drag property
The process to be implemented is the same as for taps, calculating the current value from the X coordinate value of the coordinate at which the gesture is occurring and updating the value of the ColorPickerChannelModel.currentValue property.
Add the following code to the PickerGradationView.
struct PickerGradationView: View {

    var drag: some Gesture {
        DragGesture()
            .onChanged { dragValue in
                channel.changeCurrentValue(dragValue.location.x / gradation.viewSize.width)
                channel.clearFieldText()
            }
    }
Setting up gestures to the view
Set the gesture obtained with the drag property to the view. The gesture() modifier is used to set the view. The code is as follows.
struct PickerGradationView: View {

    var body: some View {
        ZStack(alignment: .leading) {
            GeometryReader() { geometry in
                LinearGradient(gradient: Gradient(colors: [gradation.startColor, gradation.endColor]), startPoint: UnitPoint(x: 0, y: 0), endPoint: UnitPoint(x: 1, y: 0))
            }
            .frame(height: gradationHeigh)
            .background {
                GeometryReader { geometry in
                    Path { path in
                        Task.detached {
                            await updateViewSize(geometry.size)
                        }
                    }
                }
            }
            .onTapGesture { point in
                channel.currentValue = point.x / gradation.viewSize.width
                channel.clearFieldText()
            }
            .gesture(drag)
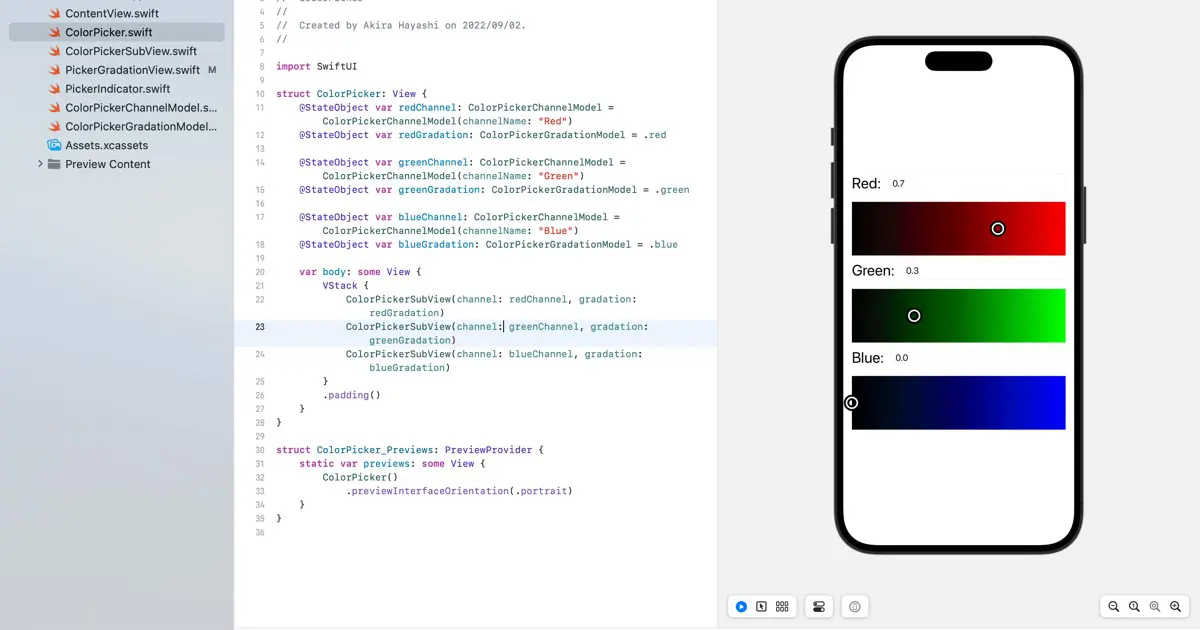
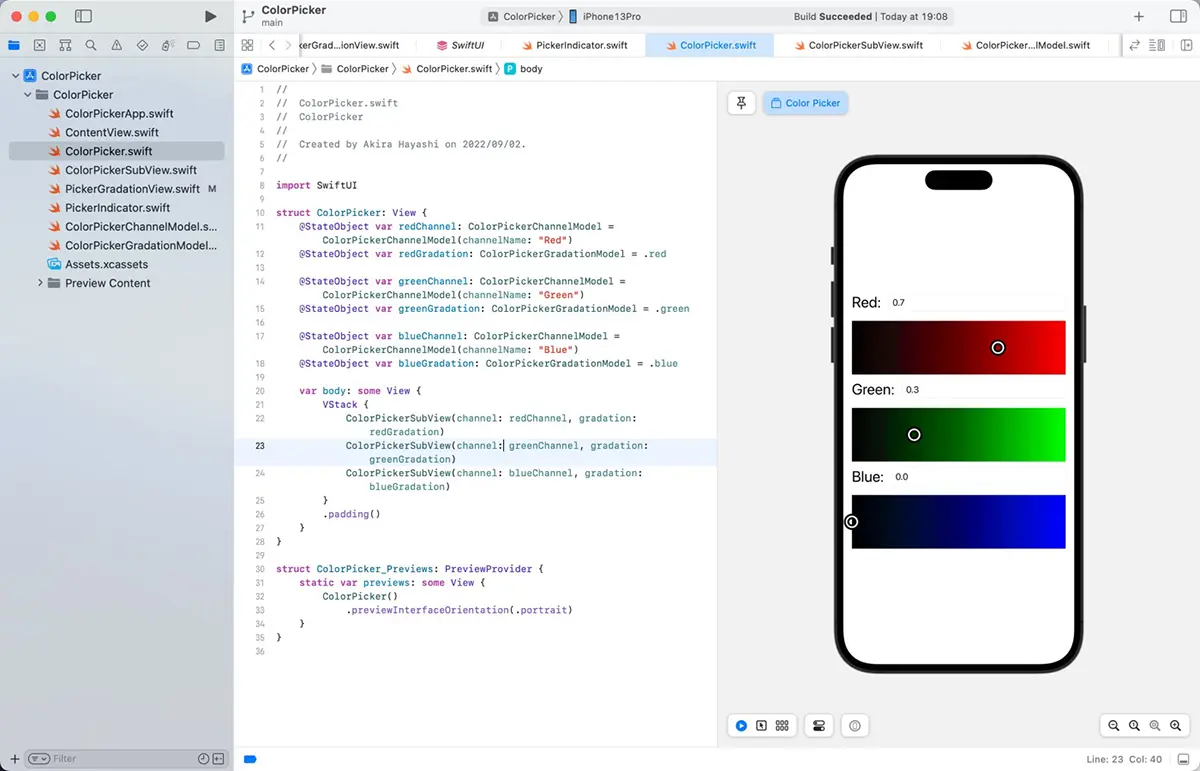
Check operation
Verify the functionality: open ColorPicker.swift and perform and drag gestures on the gradient view in the live preview. The knob will move to the position of the cursor you dragged, and the text field will also display the new current value.
Download the code
Click here to download the code created for this article.


