


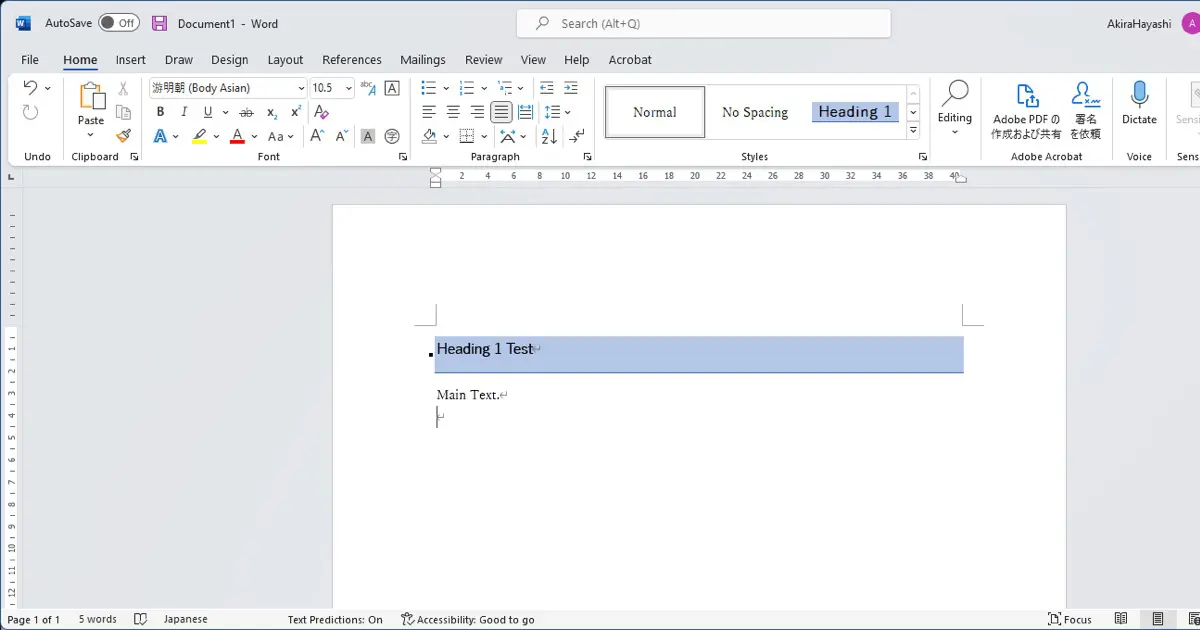
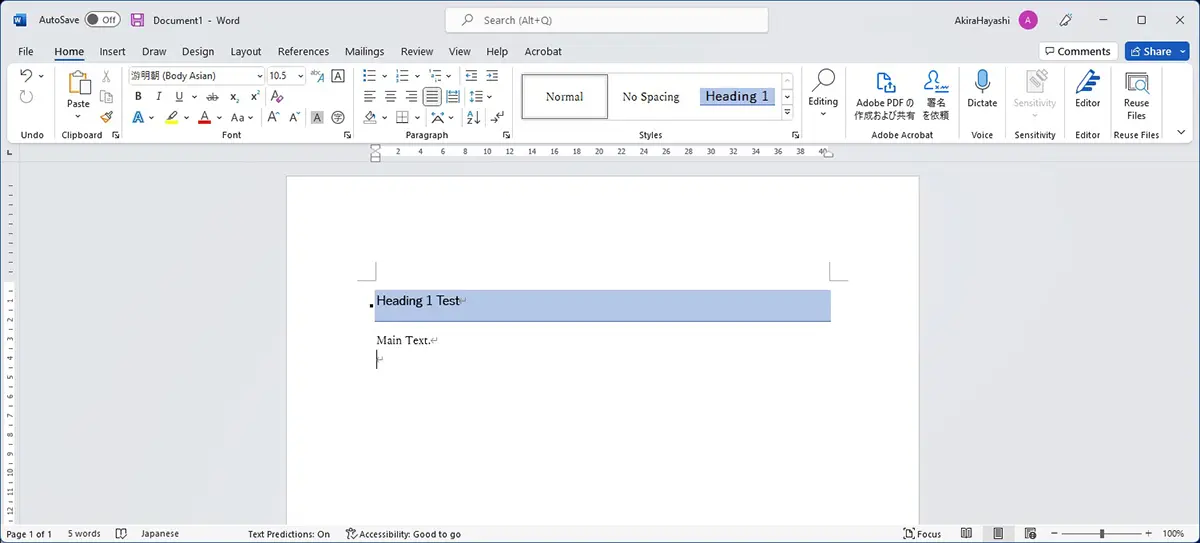
Using the paragraph style, Microsoft Word allows you to add lines and background colors. In addition, you can set the background colors and underline strokes. Headings that are visually distinctive and easy to understand are preferable over ones that change font size.
Also, by setting them in the heading paragraph style rather than individually in each place, you can unify the heading styles within a single document and change them all at once when you make changes.
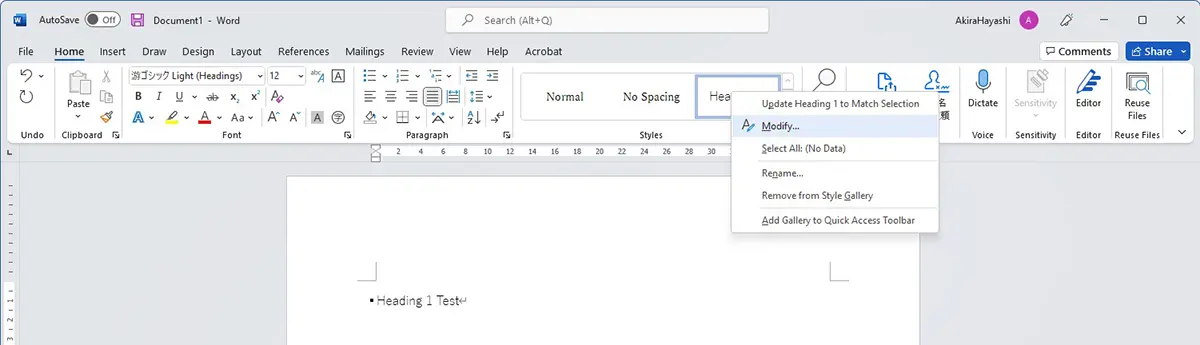
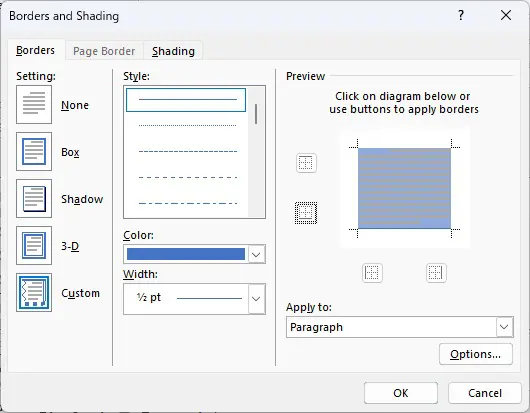
Draw underlines
To add underlines to the paragraph styles of Heading 1, follow the steps below.
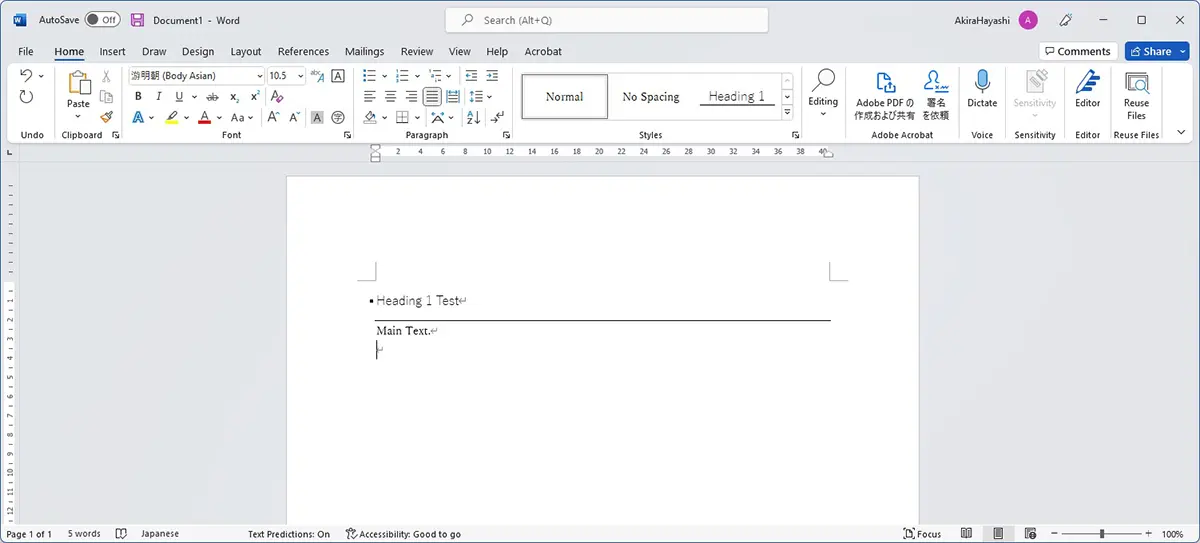
Adjust the space between the heading and body text
The default space between the heading and body text may need to be bigger. Therefore, we’ll adjust it for better readability.
To expand the space after heading 1, change the paragraph spacing of heading 1.
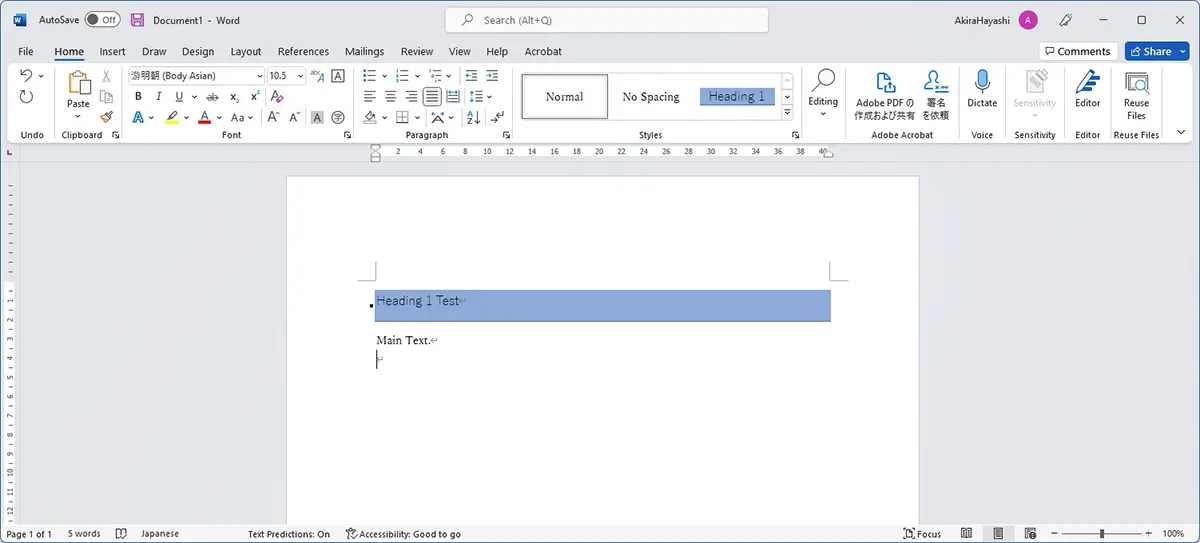
Change the background color
Let’s alter the background color to enhance the prominence of the headings.
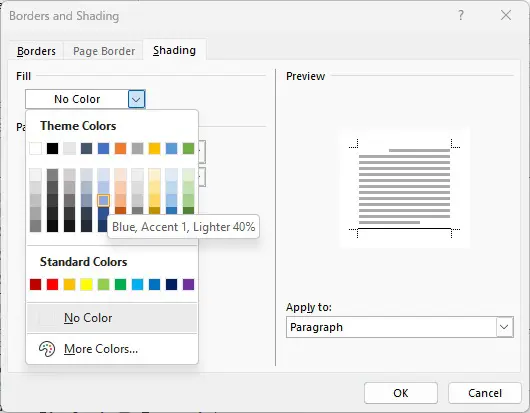
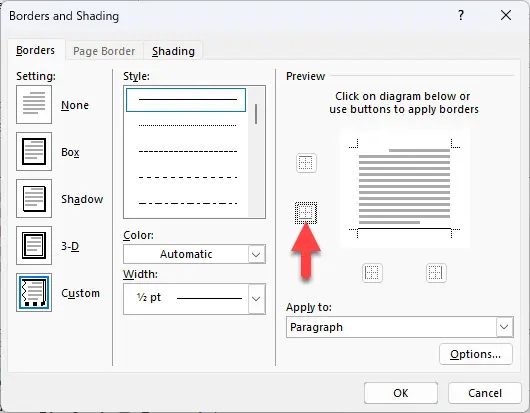
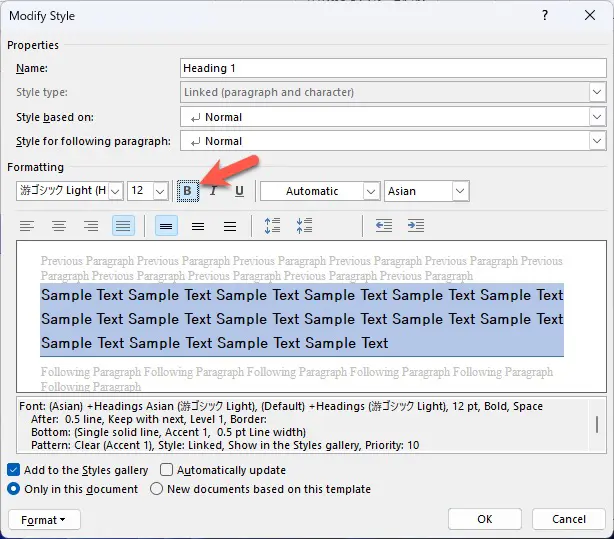
Open the “Borders” tab, change the color to “Blue, Accent 1”, and click the underline button two times.
The first click removes the line, and the second click adds a line with a newly selected color.
Configure the shading patterns
At this point, the background color might be a bit overpowering, causing the heading text to look weak. Let’s adjust this for better balance.
There are the following ways to improve the paragraph style.
- Make the text to be bold.
- Change the background color.
Conclusion
By adjusting the paragraph style, border, and shading settings for Heading 1, you can make your headings more noticeable and distinct, even compared to larger text.
Also, by adjusting paragraph spacing, you can create documents that are easy to read, even long ones.


