


Buttons are among the most frequently used elements in applications. In this article, we will add a “Quit” button to the Cocoa Hello World so that the application can also quit from the button.
This article will continue from the Cocoa Hello World created in the previous article. If you’ve already created it following the previous article, you can use that. If not, please download the sample code from the end of the previous article.

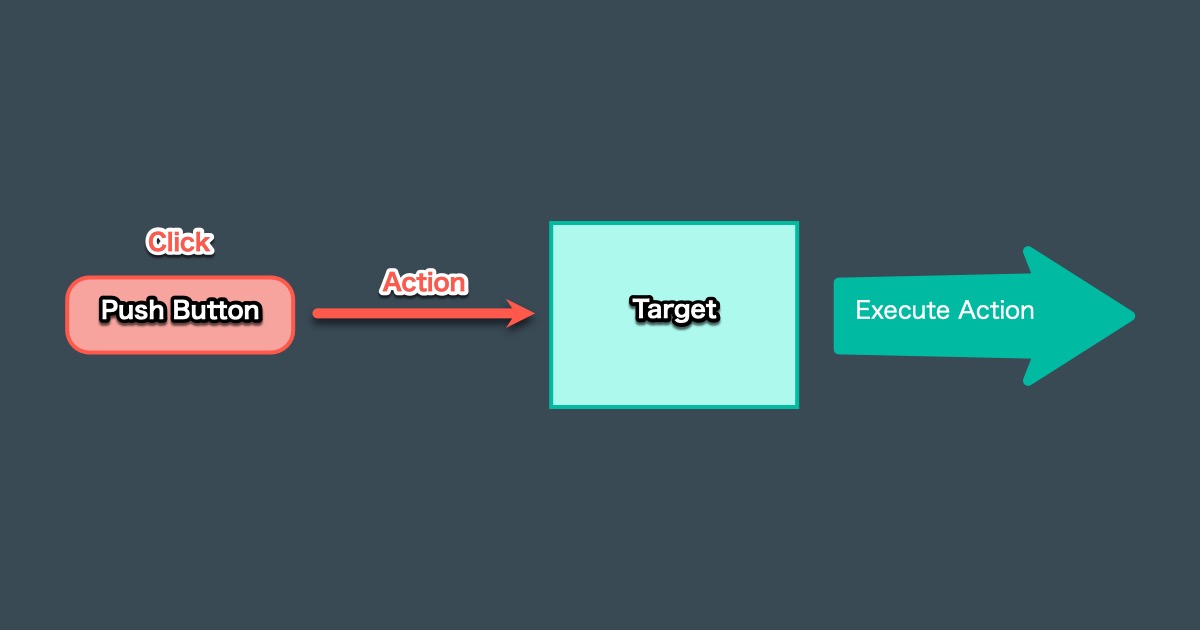
Action and Target
When creating buttons in AppKit, “Action” and “Target” are used. In AppKit, a button is actually a view. When the button is clicked, the action set to the button will be executed. The target refers to the instance that will execute the action.
About the target entity
The entity of the target that executes the action is an instance of a subclass that inherits from the NSResponder class. AppKit also has many classes that inherit from the NSResponder class. For example, the NSWindow class and NSWindowController class, which implement windows, also inherit from the NSResponder class and can be the target.
About the action entity
The entity of an action is a selector. Selectors are the internal representation of Objective-C methods. When developing an application, you can set a selector as setting a method.
For example, assume that the following method in Objective-C is available.
@implementation TestObj

- (void)doSomething:(id)sender
{
}

@end
The selector for this doSomething method is written as follows.
SEL theSelector = @selector(doSomething:);In Swift, the selector for the method of this Objective-C class is written as follows.
let theSelector = #selector(TestObj.doSomething(_:))The selector for methods of classes written in Swift can be obtained similarly. However, the code on the Swift should be as follows.
- Inherit
NSObjectclass - Define method with
@objcannotation
For example, the following code implements the above.
class TestSwiftObj: NSObject {

    @objc func doSomething(_ sender: AnyObject?) {

    }

}
Add a quit button
We will create a quit button, and in AppKit, we will set a target and an action for the button. Since Cocoa Hello World is a minimal app, we’ll designate ViewController as our target.
Action Implementation
Since we’re designating ViewController as the target, we’ll add the methods to ViewController that will serve as actions. For example, add the following code to ViewController.swift.
import Cocoa

class ViewController: NSViewController {
    // 省略

    @IBAction func terminateApp(_ sender: Any?) {
        NSApplication.shared.terminate(sender)
    }
}
Define as an action
The method to be made into action is implemented with a code of the following form.
@IBAction func methodName(_ sender: Any?) {
}
Use @IBAction instead of @objc. @IBAction is an attribute required to make Xcode recognize a method as an action. @IBAction also exports methods in a way compatible with Objective-C selectors, so @objc is unnecessary. (It will internalize the @objc process.)
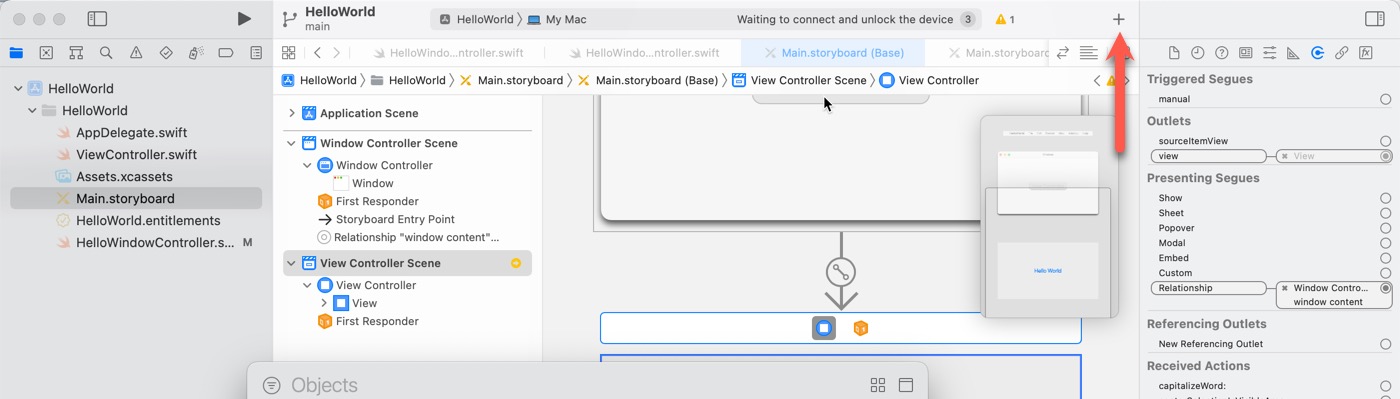
Add a quit button to the view
Add a quit button to the view by doing the following.
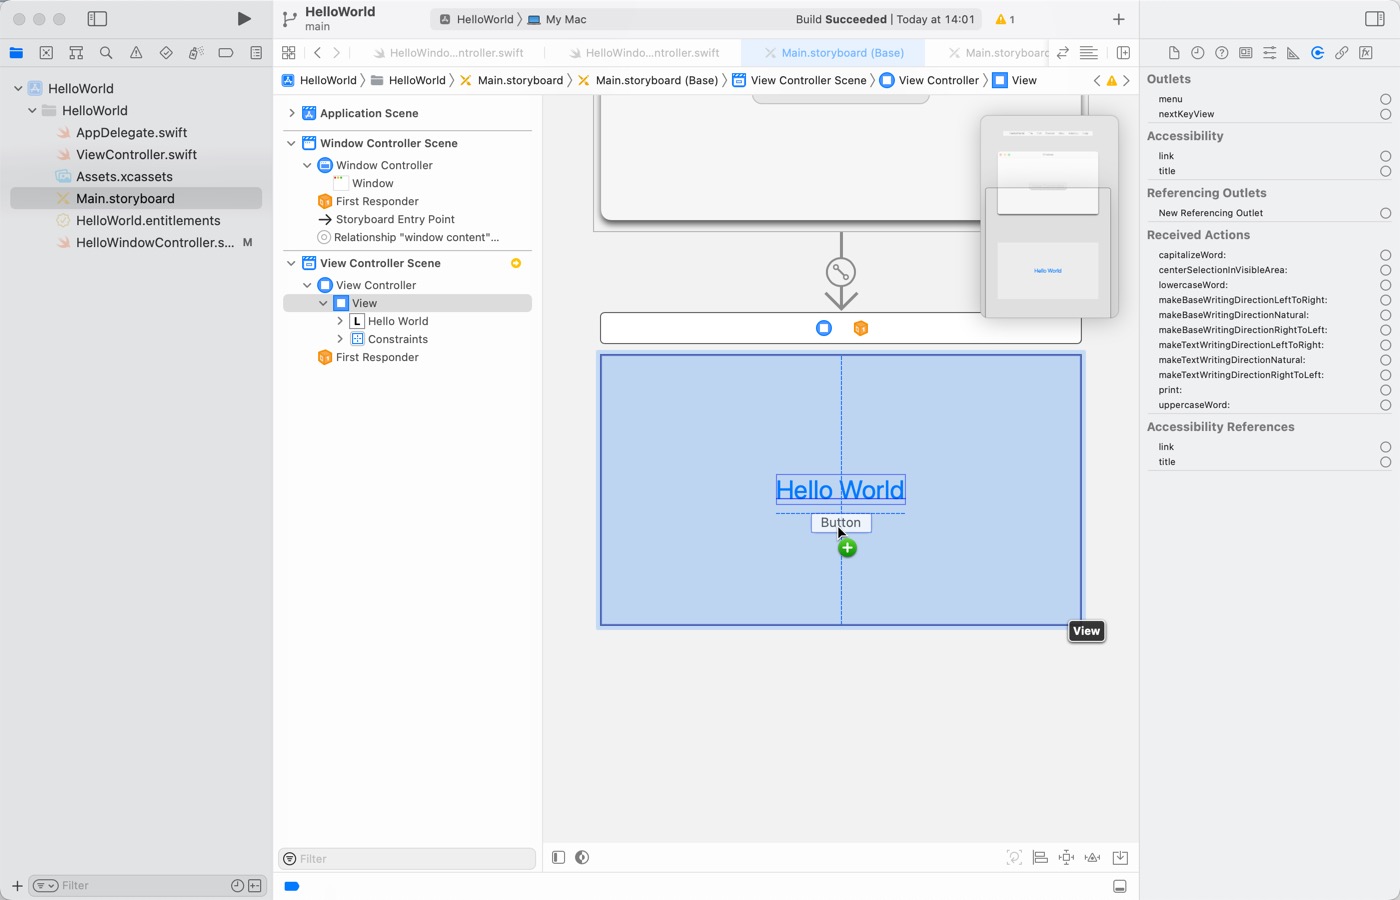
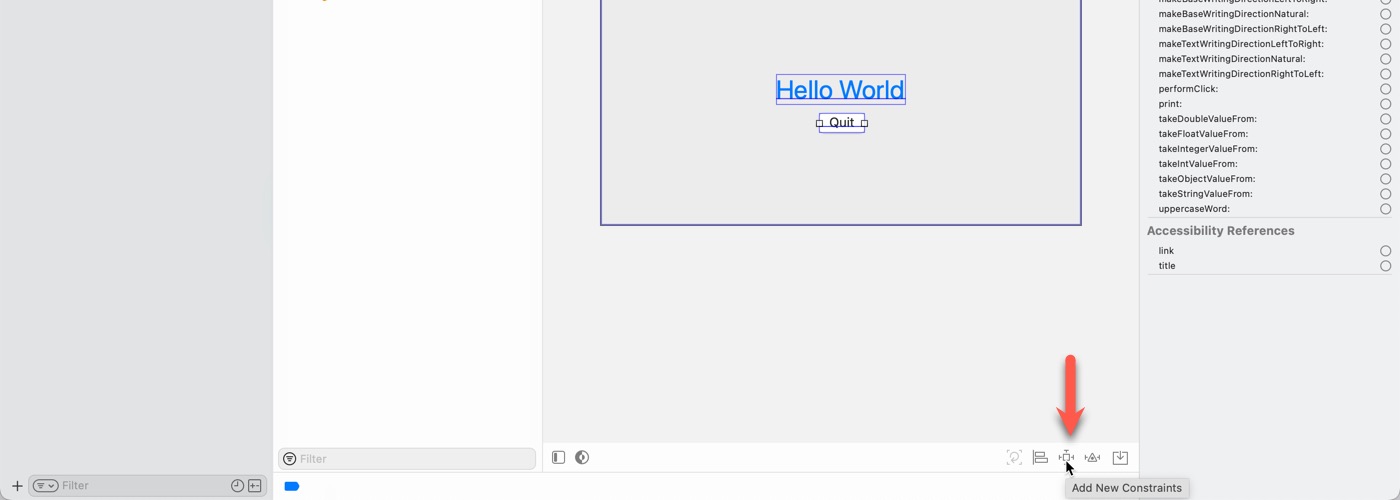
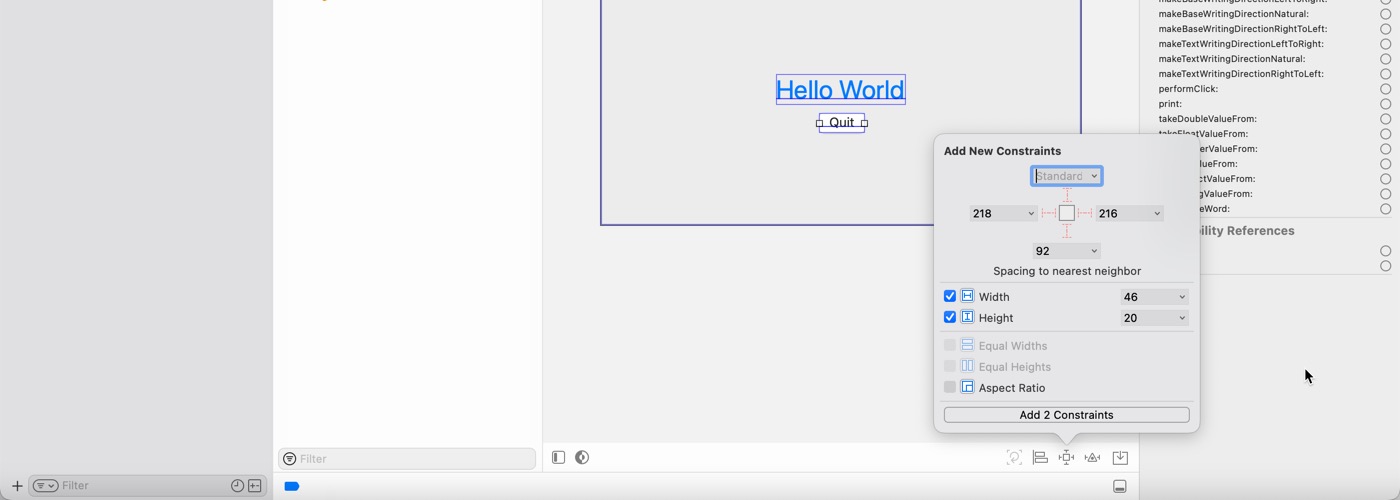
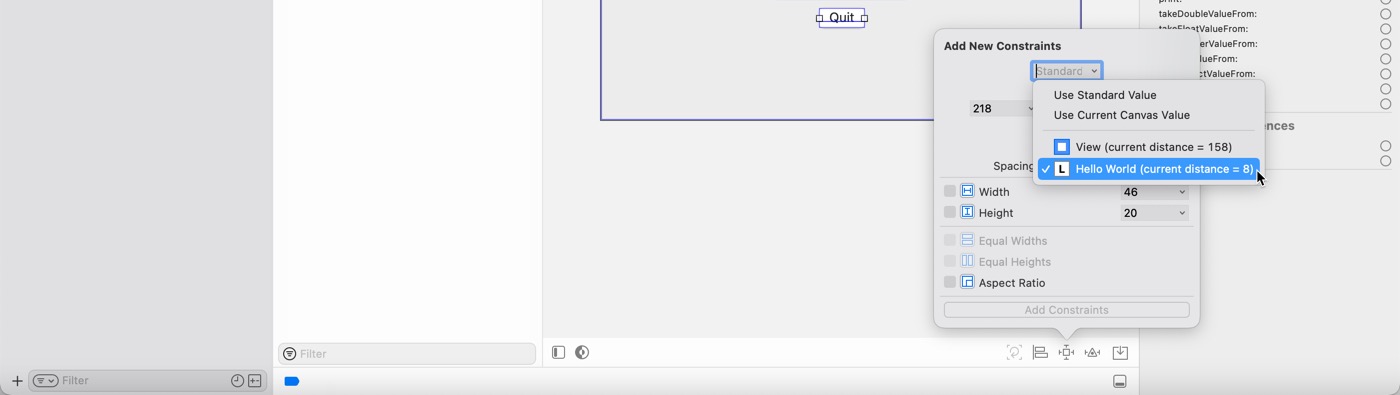
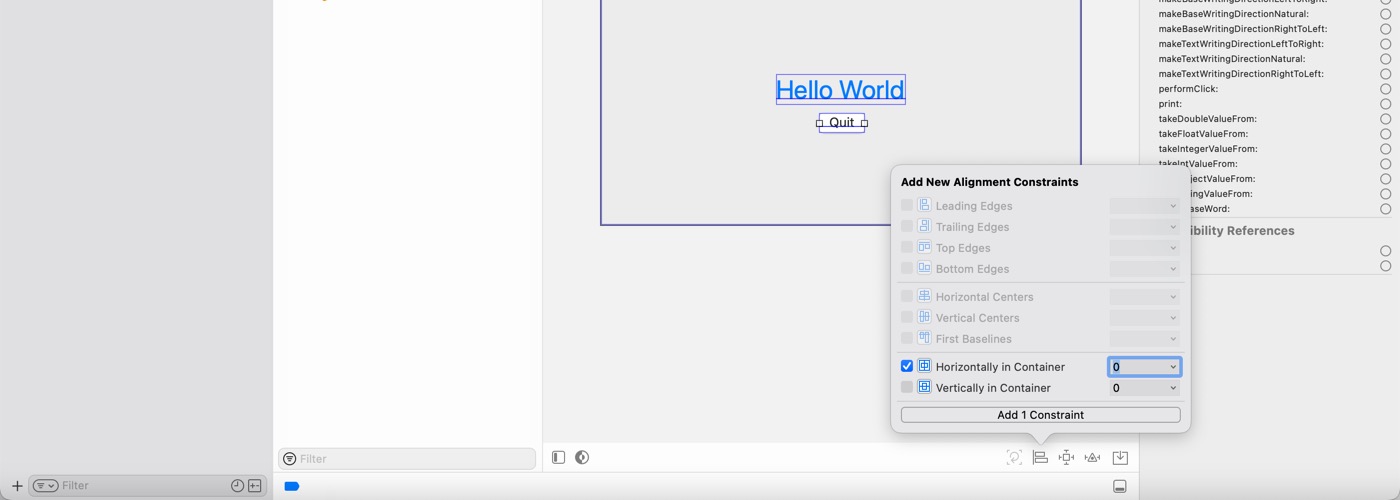
Auto Layout Settings
Next, set the auto-layout. The label “Hello World” is to appear in the center. The “Quit” button is set to appear below it. The following is how to do it.

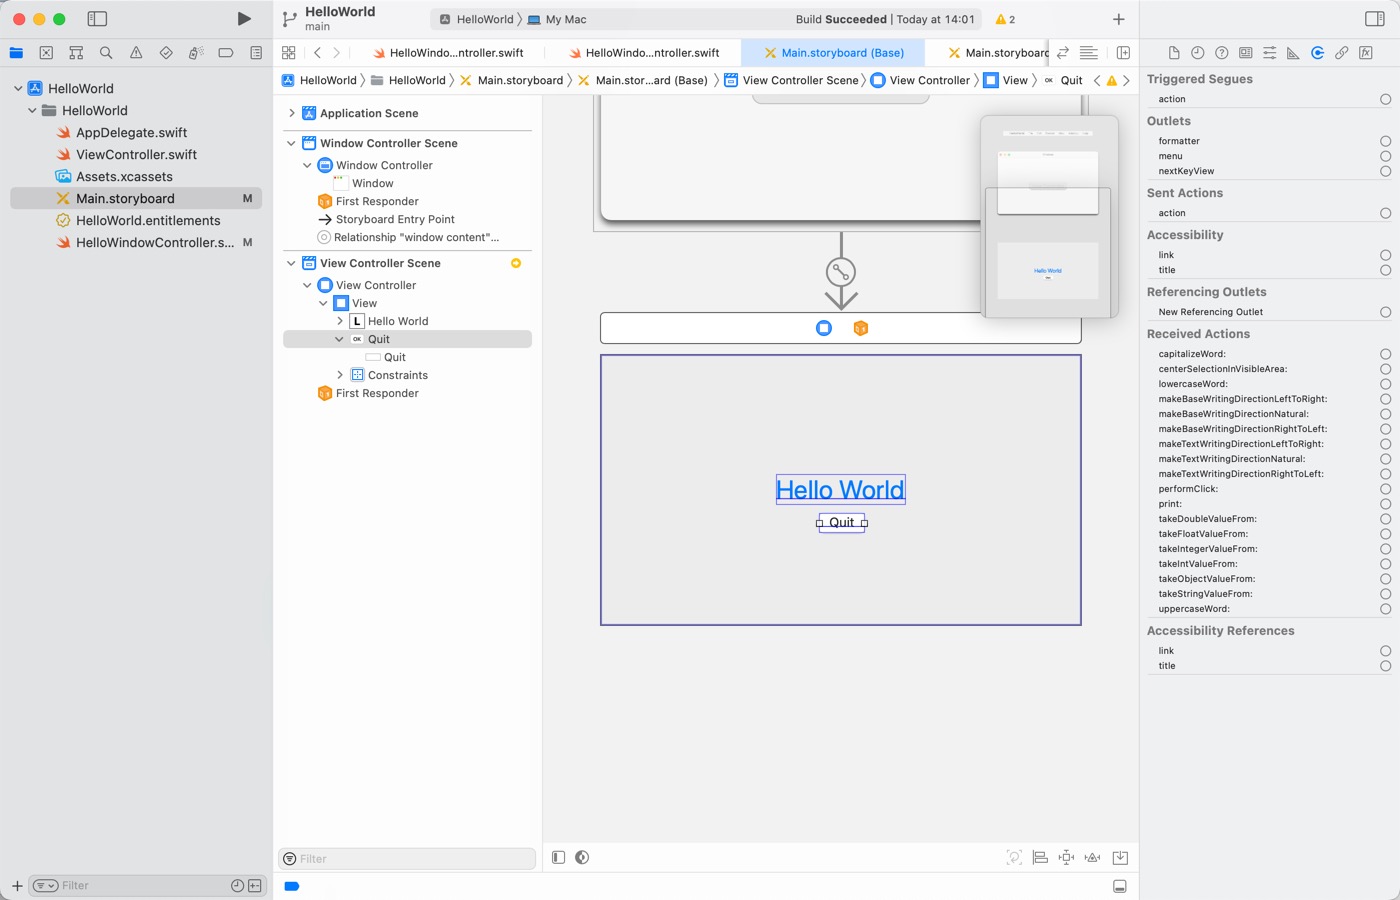
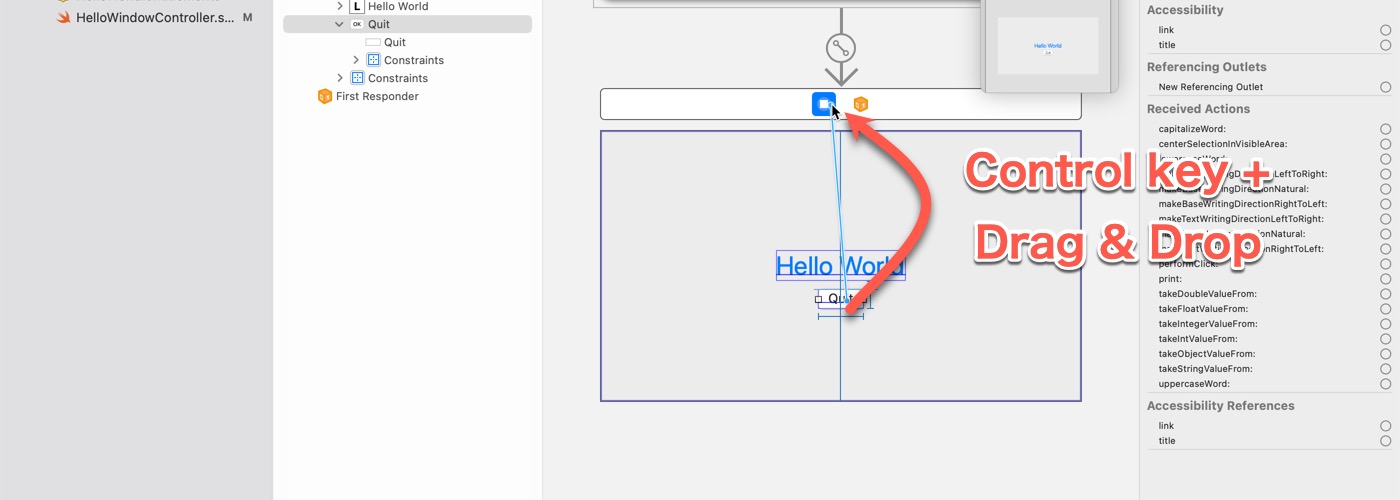
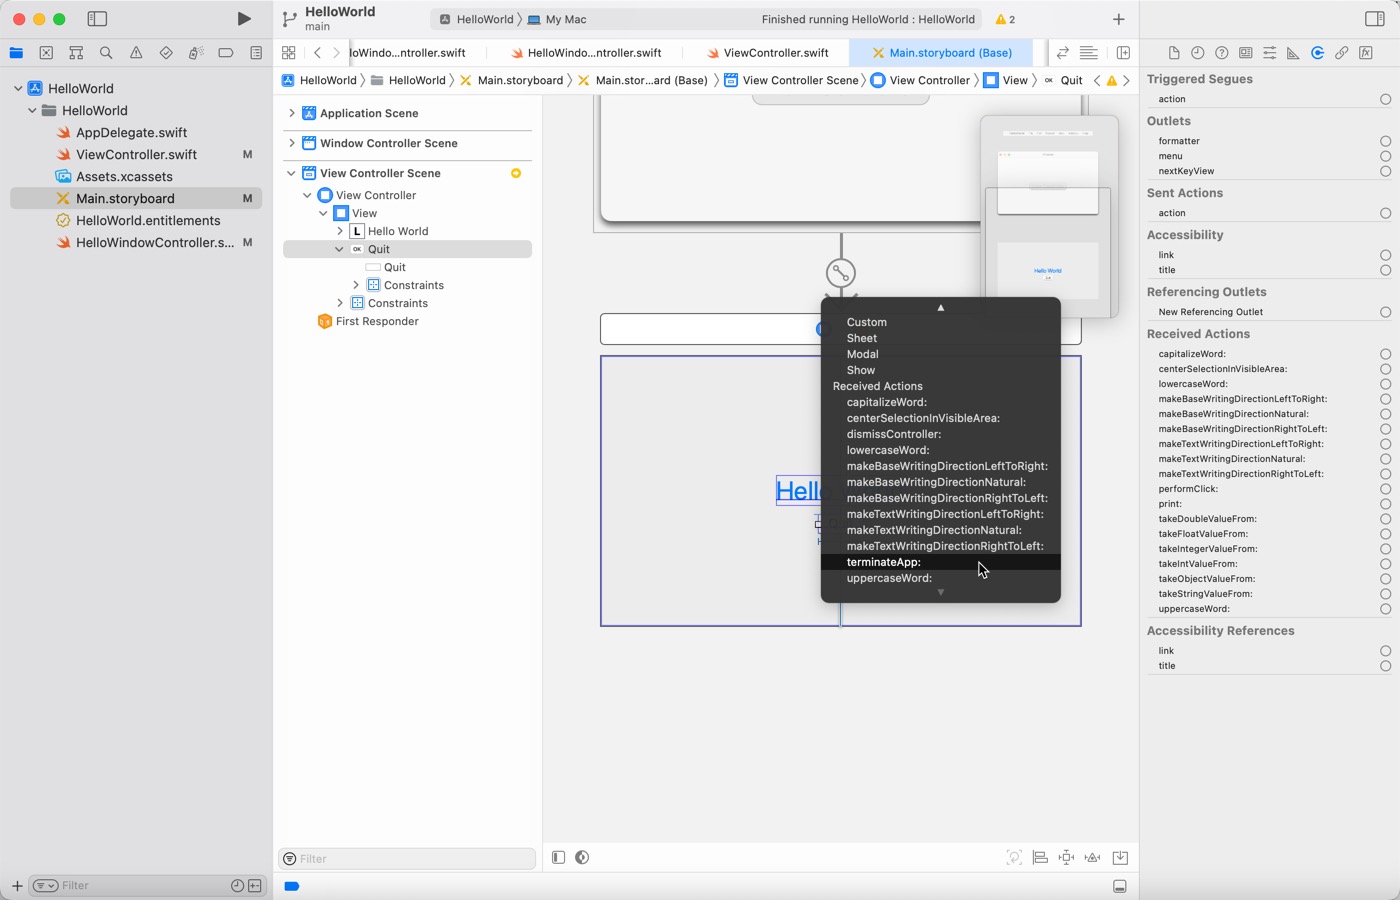
Set the action on the button
Finally, set the terminateApp method to the “Quit” button’s action. Operate as follows.
About Guide Lines
The horizontal guidelines are shown when adding a button. They are shown at the margins that should be left empty according to the Human Interface Guidelines. Also, the vertical guidelines are shown as indicating just the center of the view.
If you follow the guidelines, you can lay out the layout to a certain degree of goodness.
The Human Interface Guidelines are available on the developer site.

Fat View Controller and Fat Window Controller
Here we implemented the quit function, which is business logic, in ViewController. In doing so, we emphasized the “small scale” nature of AppKit, which was originally designed with MVC.
View controllers and window controllers are controllers. The controller is to communicate input to the model. The process of exiting is logical. Business logic should be done on the model side and not in the controller.
However, Cocoa Hello World is very small. Therefore, it was considered rather over-speculative to strictly divide the code in an application as small as this. Consequently, we implemented it directly in ViewController.
A view or window controller that has grown so large because everything has been implemented in a controller is called a “Fat View Controller” or “Fat Window Controller.
For code visibility and maintainability, it’s best to avoid these situations. In reality, though, many times, I have written such codes. I want to improve these codes someday.
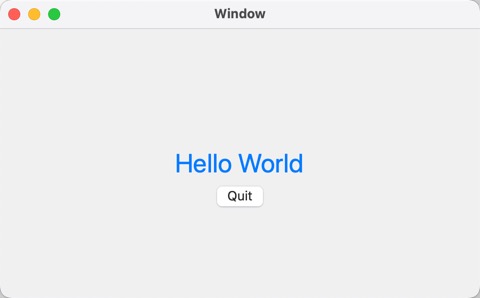
Running Test
Build and run the application. Resize the displayed window and make sure the “Quit” button is not positioned incorrectly.
Next, click the “Quit” button and see if the application exits.
Download the sample code
The sample code created for this article can be downloaded here.


