


In the previous article, we implemented executing an action when clicking a button. Actions with buttons are one of the basic things common to most applications. Similarly, reading and writing controls’ values are a common issue in application development.
A control is a view type, such as a button, label, or text field. In this article, we will explain how to read and write values of controls in AppKit through the implementation of a function that reads a string entered in a text field and sets a new string in a label.
Create a project
Start by creating a project for your new macOS application and name it CocoaHelloWorld2. For instructions on how to create a project, please refer to the following article.
Create a user interface
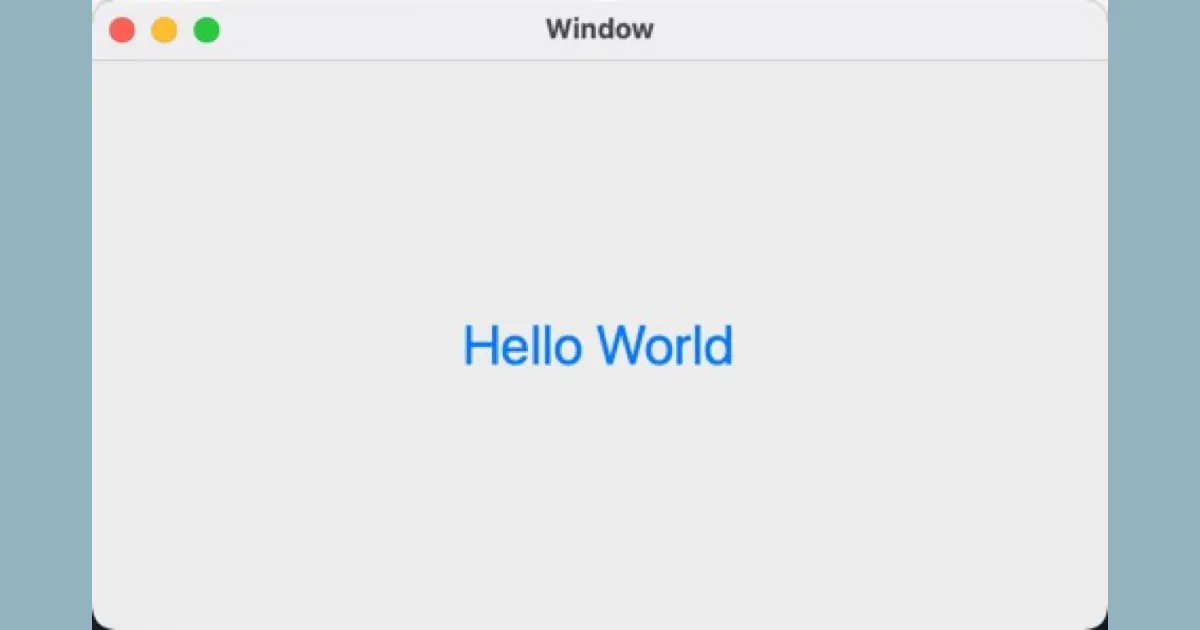
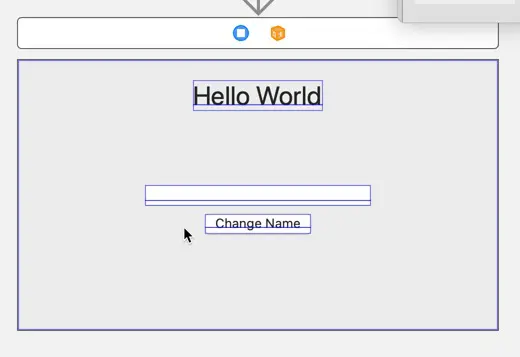
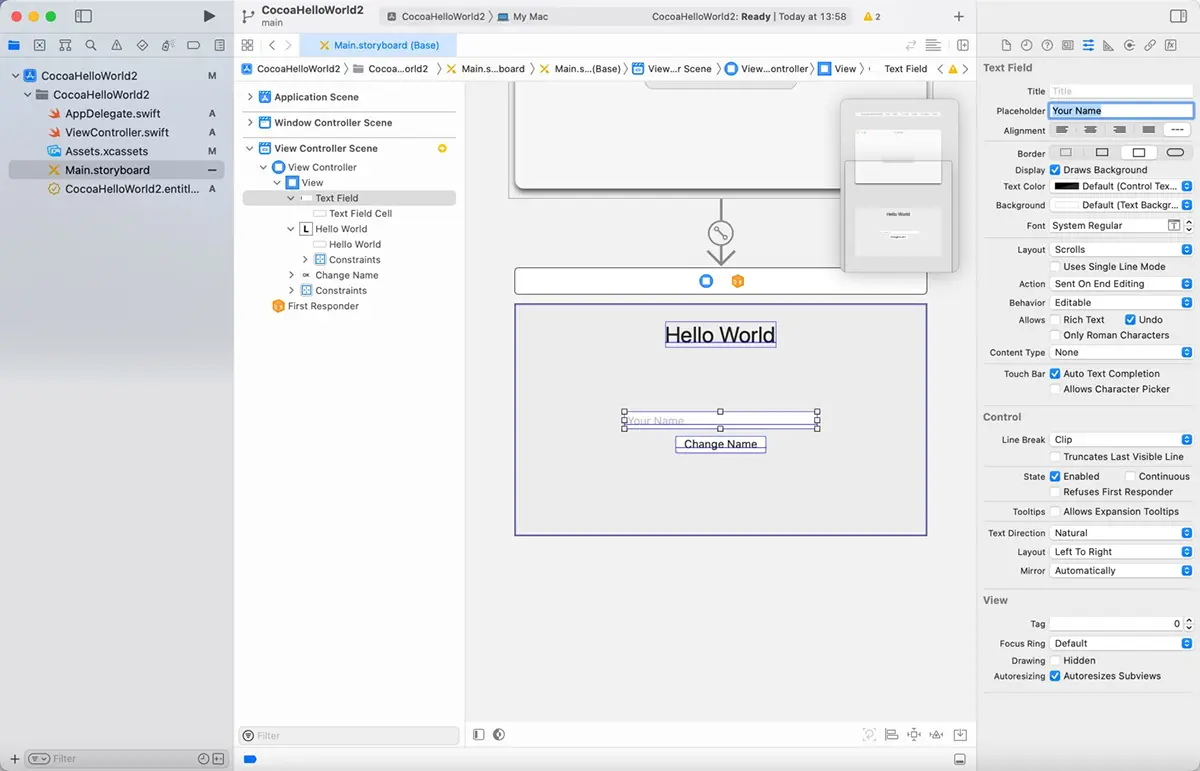
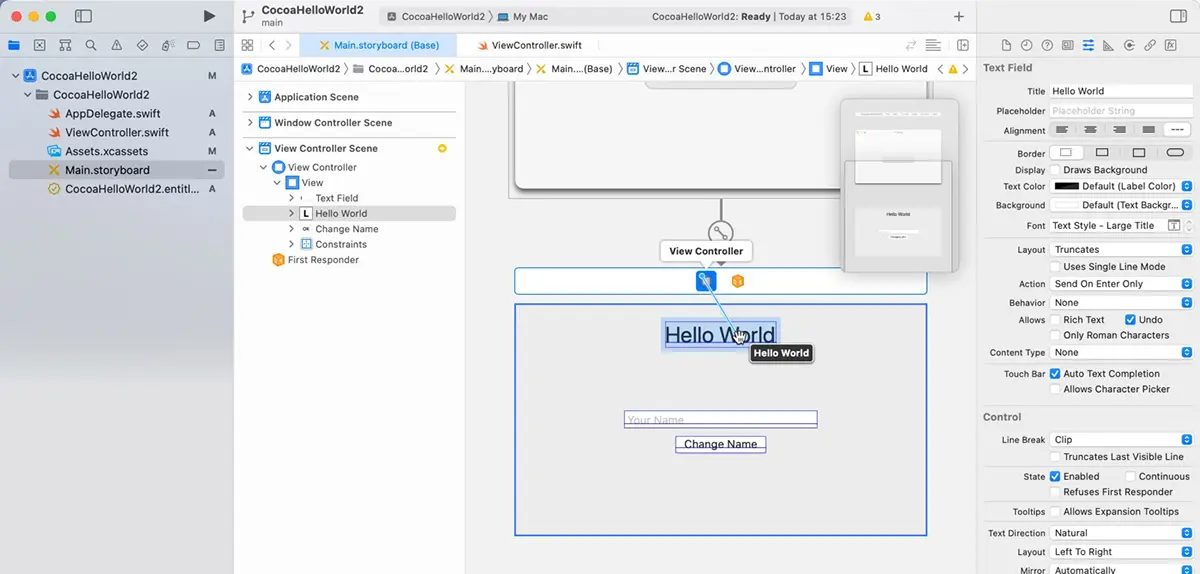
After creating the project, create the UI by editing the View Controller Scene in the Main.storyboard and create a view like the following screen capture.
Create a label
The “Label” is placed where “Hello World” is written. Create it by the following operation.
(1) Click the “Library” button and drag & drop “Label” from the “Library” window to add it.
(2) Change the label string to “Hello World”.
(3) Set “Font” to “Text Style – Large Title”.
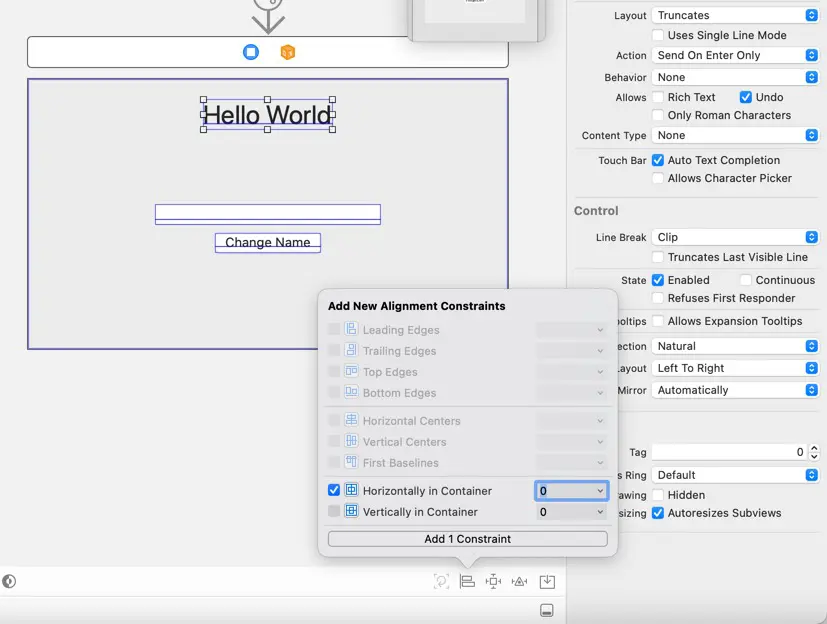
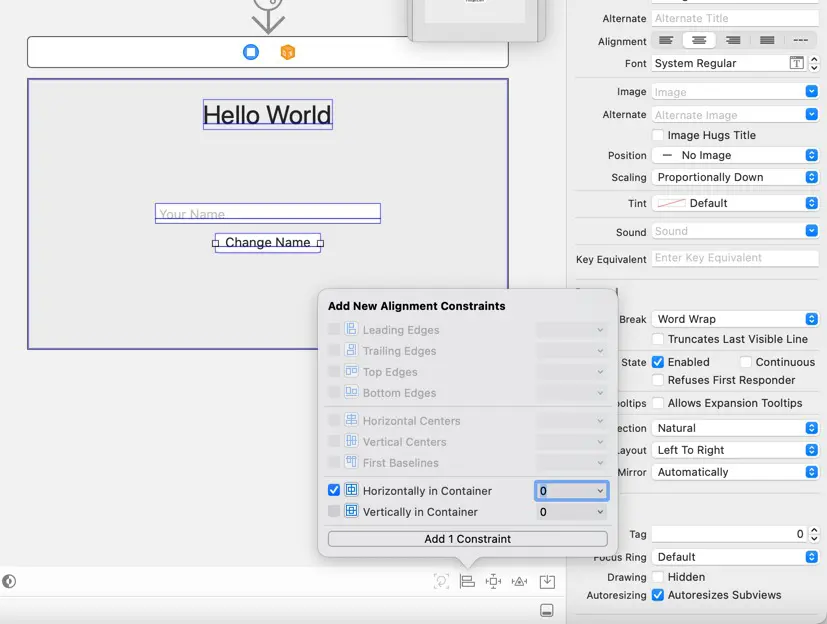
(4) Set the auto-layout to be as shown in the table below.
| Item | Setting |
|---|---|
| X | Center (Horizontally center in container) |
| Y | Fix from the top |
| Width | Fix |
| Height | Fix |
Name input field
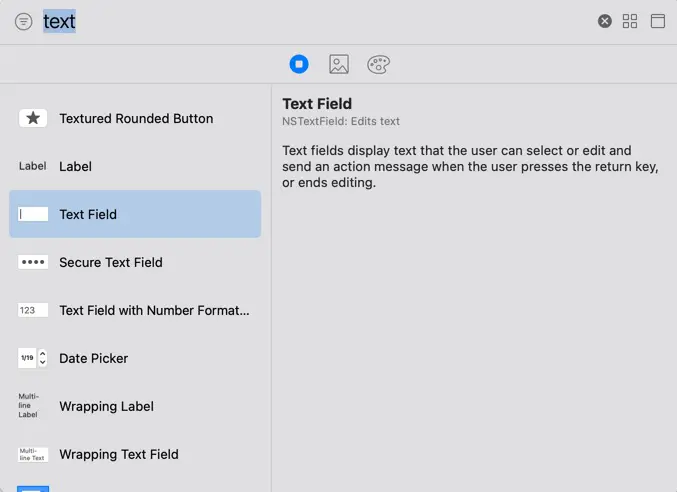
The name input field displayed in the center places the “Text Field”. The following operation creates it.
(1) Drag and drop “Text Field” from the “Library” window.
(2) Adjust the width.
(3) In the “Attributes” inspector, enter “Your Name” in the “Placeholder” field.
The placeholder field is where you set the placeholder string, a text that appears dimmed in the text field when no other text has been entered.
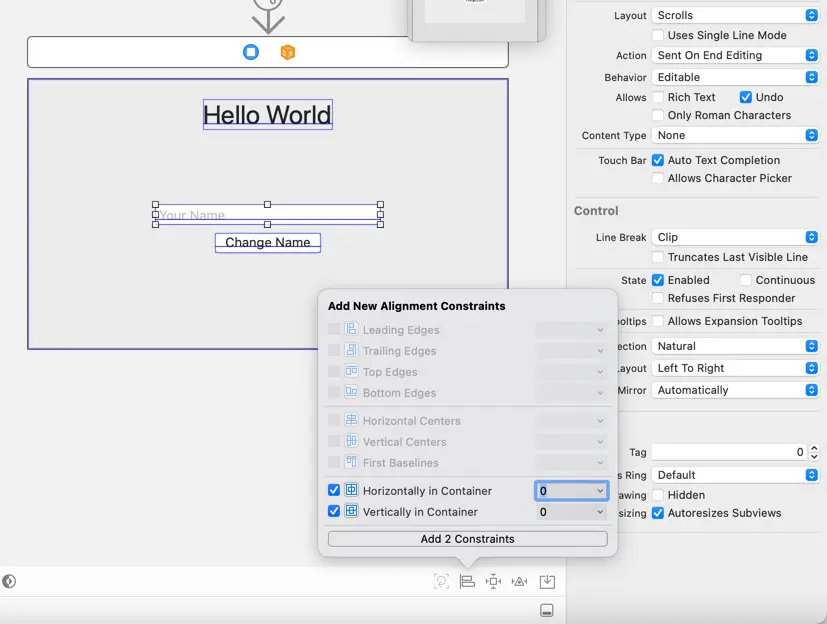
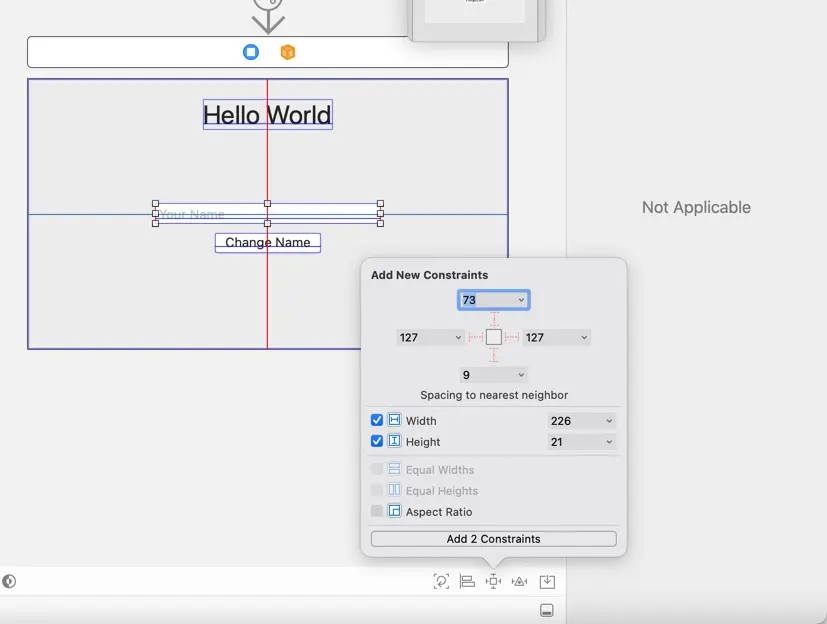
(4) Set the auto-layout to be as shown in the following table.
| Item | Setting |
|---|---|
| X | Center (Horizontally center in container) |
| Y | Center (Vertically center in container) |
| Width | Fix |
| Height | Fix |
“Change Name” button
The button labeled “Change Name” places a “Push Button”. Operate as follows.
(1) Place the “Push Button” from the “Library” window.
(2) Double-click the button and change the title to “Change Name”.
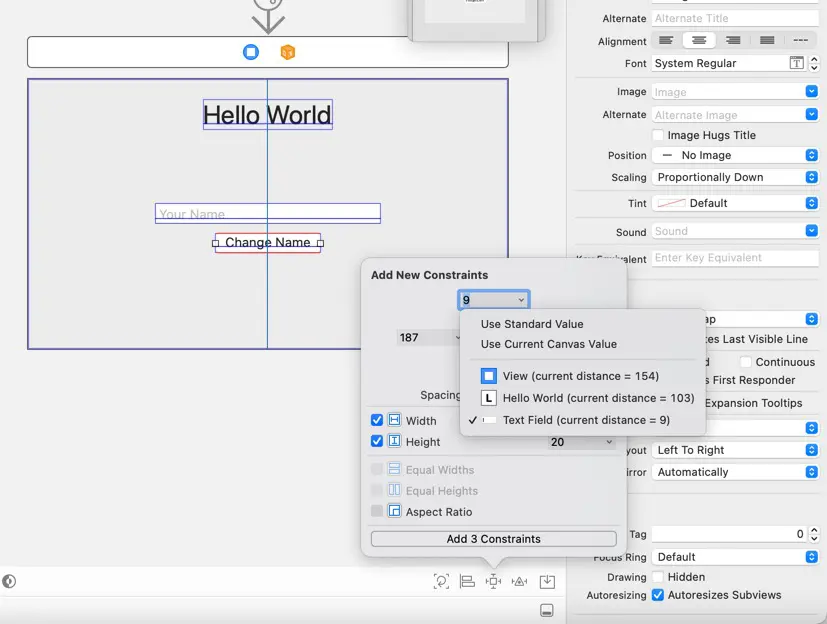
(3) Set the auto-layout settings as shown in the following table.
| Item | Setting |
|---|---|
| X | Center (Horizontally Center in Container) |
| Y | Fix from “Text Field” |
| Width | Fix |
| Height | Fix |
Create outlets
To reference an object placed in the view you wish to create in the Storyboard from your code, create an outlet. An outlet is a property in Swift with the attribute @IBOutlet.
When a connection is set up between an outlet and an object in the Storyboard, the outlet is assigned an instance of the object on the Storyboard.
Create the name entry field and the outlet to the label
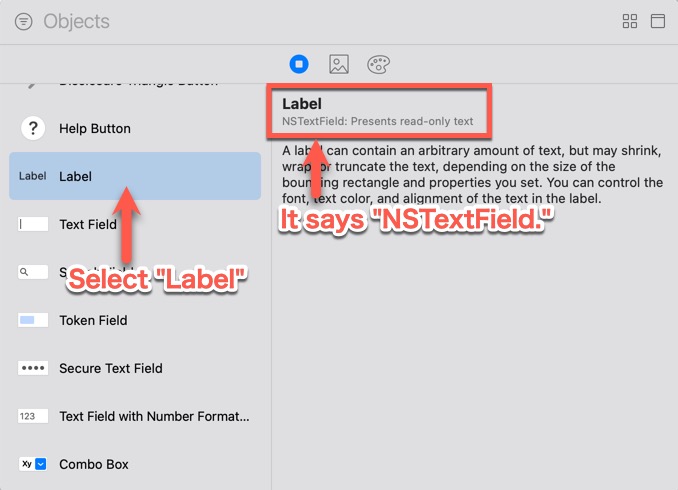
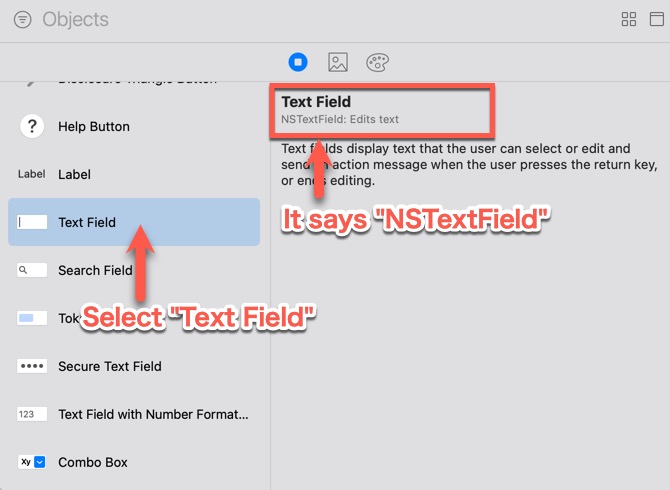
Create a name input field and an outlet to a label. Labels and text fields are NSTextField classes in AppKit. You can see what class corresponds to the control in the “Library” window.
Define an outlet in ViewController.swift as follows.
import Cocoa

class ViewController: NSViewController {

    @IBOutlet var messageLabel: NSTextField!
    @IBOutlet var nameField: NSTextField!

    override func viewDidLoad() {
        super.viewDidLoad()

        // Do any additional setup after loading the view.
    }

    override var representedObject: Any? {
        didSet {
        // Update the view, if already loaded.
        }
    }


}
Connect to outlets
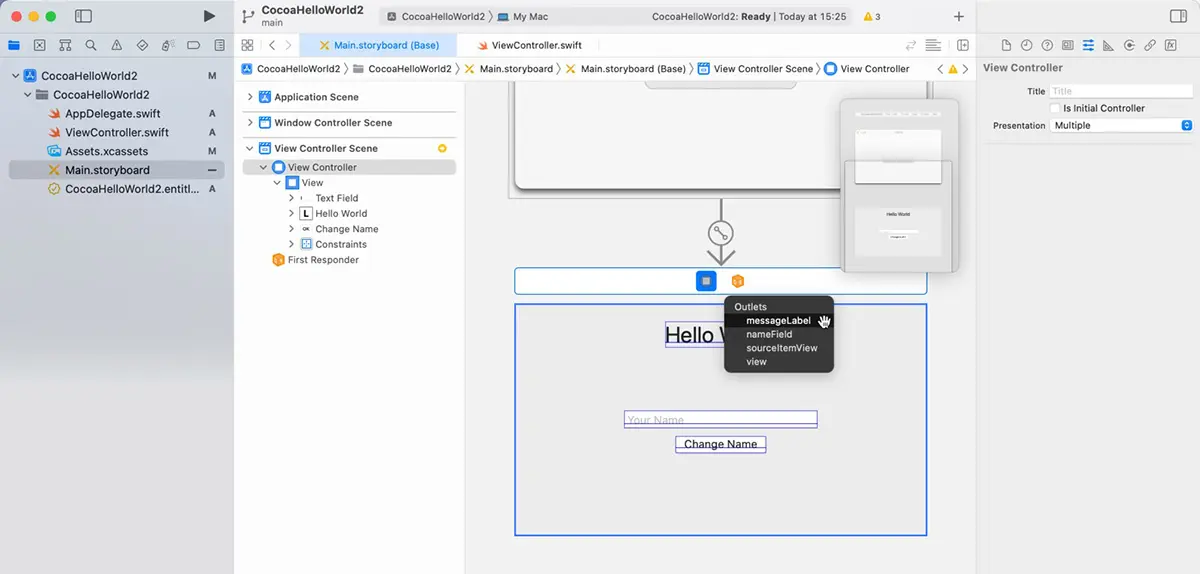
Connect the messageLabel property to the label that says “Hello World” and the nameField to the text field with a connection. Operate as follows.
(1) Open the “Main.storyboard”.
(2) Connect connections from the “View Controller” to the “Hello World” the label placed in the view by holding down the control key or by dragging and dropping with the right mouse button.
(3) Select “messageLabel” from “Outlets”.
This operation creates a connection between messageLabel and the placed label, and when Main.storyboar is loaded, the label object is assigned to the property `messageLabel`.
(4) Operate as in steps (2) and (3) to connect a connection between the “nameField” property and the text field for name entry.
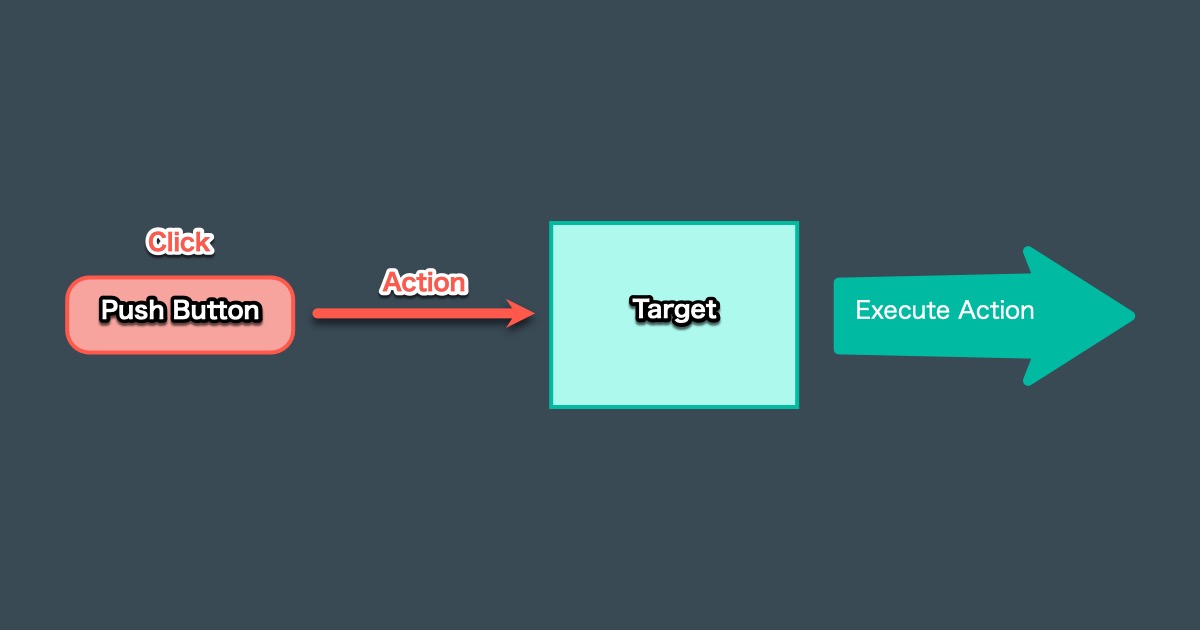
Create a button action
Implement the action to be performed when the “Change Name” button is clicked. Add the following code to the ViewController.swift file.
import Cocoa

class ViewController: NSViewController {

    @IBOutlet var messageLabel: NSTextField!
    @IBOutlet var nameField: NSTextField!

    override func viewDidLoad() {
        super.viewDidLoad()

        // Do any additional setup after loading the view.
    }

    override var representedObject: Any? {
        didSet {
        // Update the view, if already loaded.
        }
    }

    @IBAction func changeName(_ sender: Any?) {
        // Get the string entered
        let name = nameField.stringValue

        // Create the new string
        let message = "Hello \(name)"

        // Update the label
        messageLabel.stringValue = message
    }
}
See the following article for information on how to configure actions and implemented code to be executed by buttons.
Change the size of the label
Run the application. Enter a name and click the “Change Name” button to change the label string. It may seem fine, but try entering a longer name.
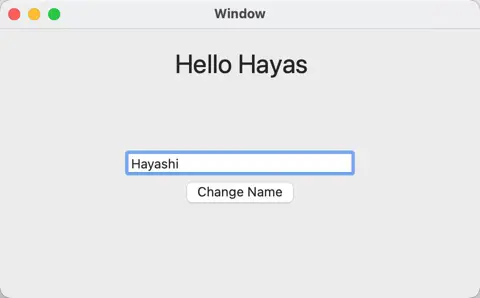
If the entered name is longer than the original “Hello World”, it won’t be fully displayed. One way is to change it dynamically, but here, let’s fix the left and right margins so that the label width changes with the window size.
(1) Open the “Main.storyboard”.
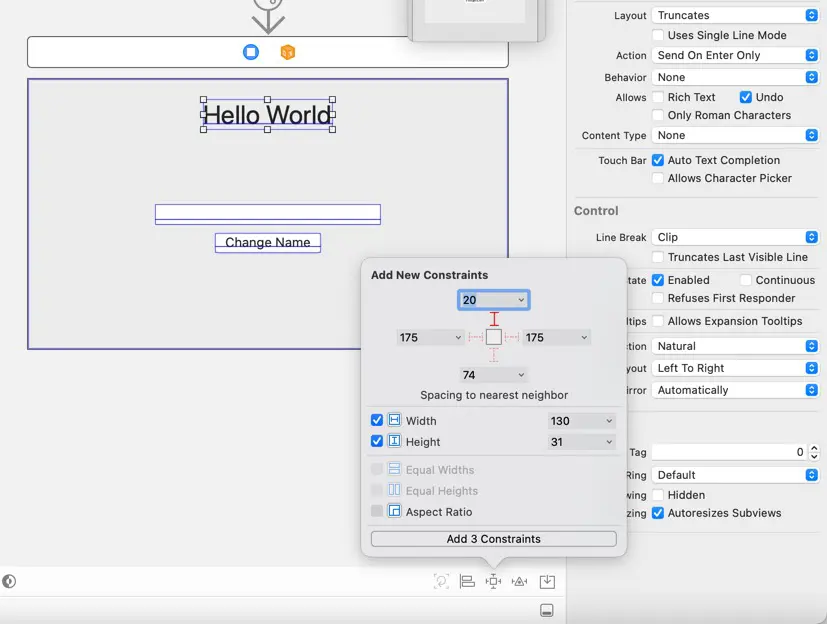
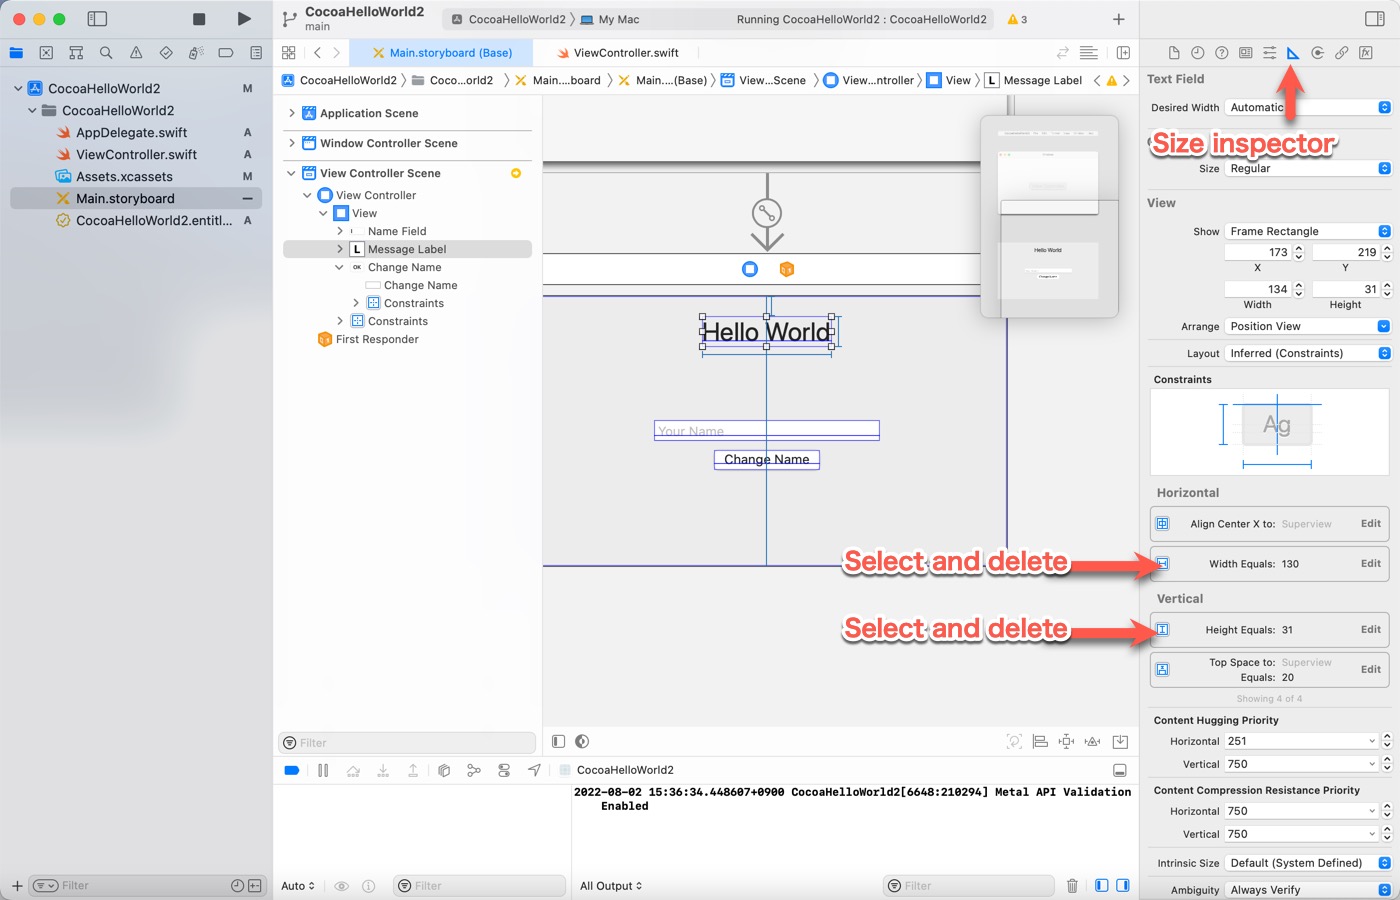
(2) Select the “Hello World” label and open the “Size” inspector.
(3) Select “Width Equals: 130” and “Height Equals: 31” and press “Delete” key to delete them.
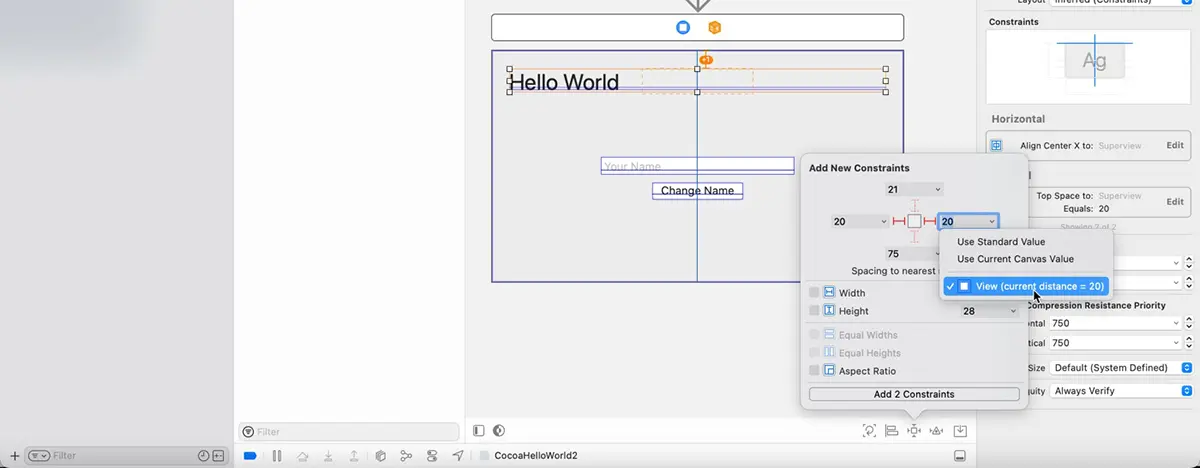
(4) Widen the width of the label to where the guide appears.

(5) Set the left and right margin constraints and click “Add 2 Constraints”.
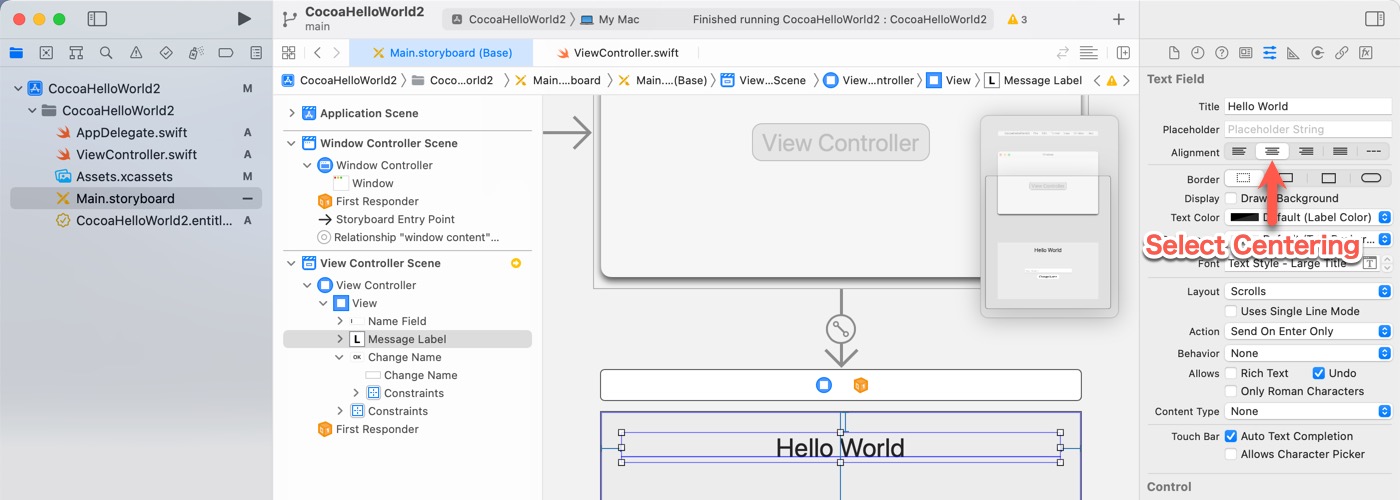
(6) Set “Alignment” to center in the Attribute Inspector.
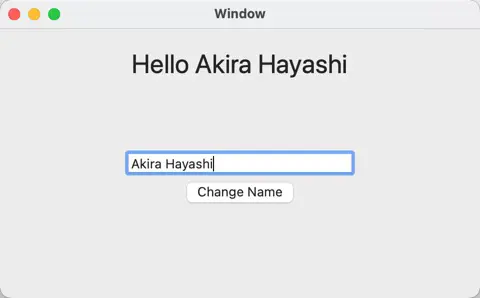
Running Test
Run the completed application. Check for differences in display due to long strings and window size.
Download the sample code
You can download the sample code created for this article from here.


