


We use Xcode to develop applications for the App Platform. This article provides an introduction to getting started with development.
Register to the Apple Developer Program
If you aim to develop an app, access documentation and sample code, and run the app you’ve developed on your device, all you need is an Apple ID. In that case, you only need an Apple ID. You can use the Apple ID you use for iCloud or create an Apple ID for development.
I use a separate Apple ID for development, distinct from my daily-use ID. This is because I became a member when the Apple Developer Program was still the Apple Developer Connection when Apple IDs were not yet available.
Sometimes when I used Japanese for names and addresses would go wrong, so I am glad I kept them separate. (It appears Apple already fixed this issue.)
You should be a member of the Apple Developer Program if you want to deploy your apps in the App Store. You need to pay a membership fee yearly, but you can get many benefits when you are a member. For example, you can generate code signing certificates and sign your developed macOS applications. In addition, your macOS application is no longer blocked by the GateKeeper, even if they are deployed out of the Mac App Store.
When you deploy the iOS, tvOS, and watchOS apps, you must become a member of the Apple Developer Program. In addition, you can deploy Apple Platform applications for other than macOS in the App Store only. The App Store is not needed for enterprise deployment, but enterprise certificates are required.
For more information about the developer program, please see the following website.

Install the Xcode
Xcode is available in the Mac App Store and Xip versions. They have the same functions. You can choose one of them with your needs. I use the Mac App Store version on my main machine to know that Xcode has been updated. When I need an old version of Xcode, I use the Xip version.
The Mac App Store version takes longer than the Xip version to update or install, so I use the Xip version on sub-machines. Apple Silicon Macs have a shorter installation time than Intel Macs. However, the Store version still takes longer than the Xip version.
Mac App Store version
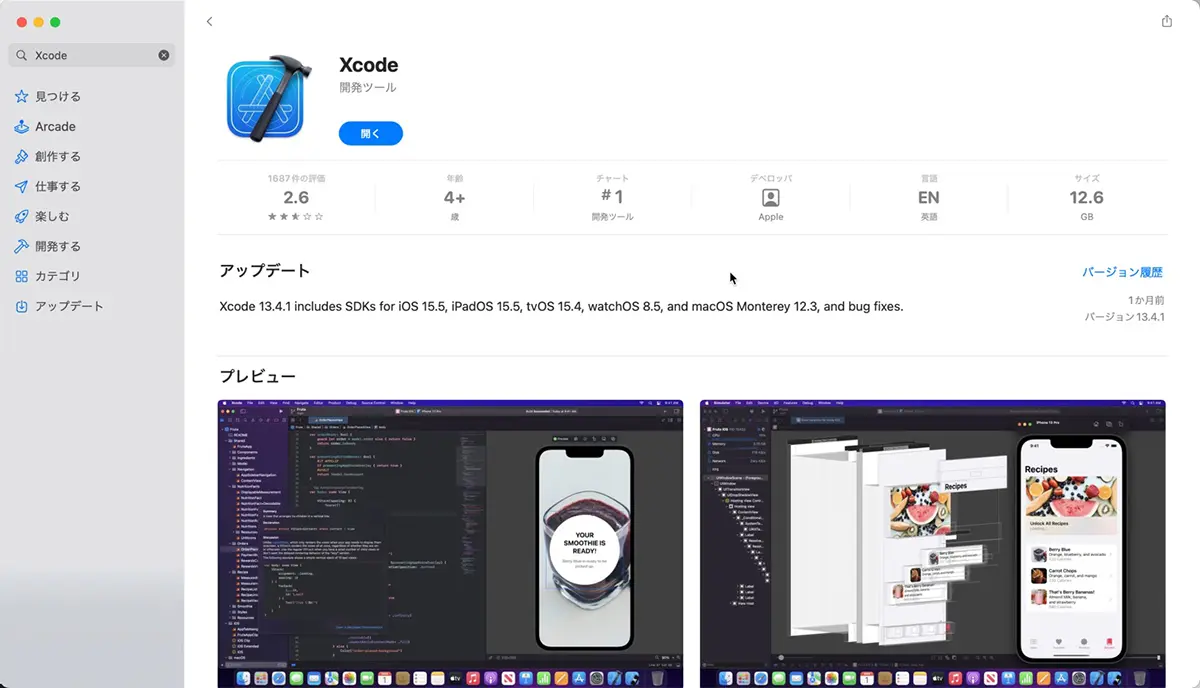
Use the App Store app to install or update the Mac App Store version. It is simple. Automatically checks updates. You can know soon that the updater is available. On the other hand, there is a weakness, and updates take time. You should update it when you have time to spare (it can take anywhere from 30 minutes to an hour).
Search for “Xcode” in the App Store app.
Xip version
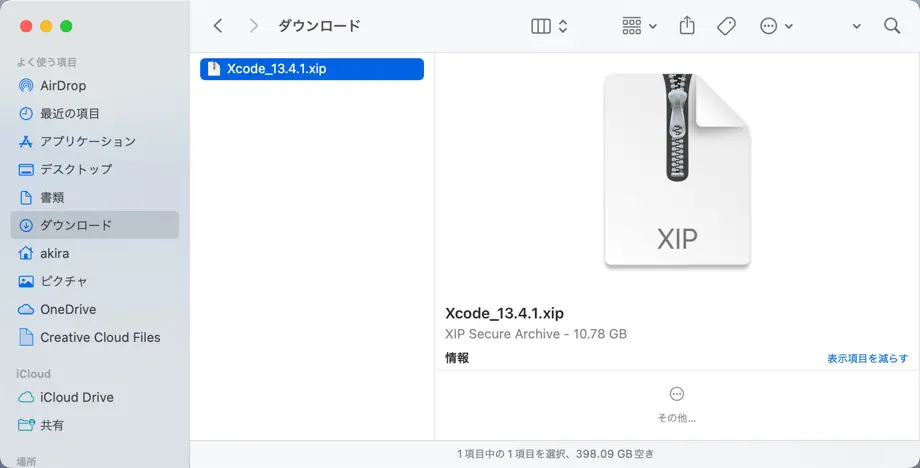
You can use the Xip version if you are a member of the Apple Developer Program. You can download the Xip version from “More Downloads” page on the Apple Developer Site. You can also download old versions.
Double-click the downloaded the Xip file, and the Xcode.app will be saved. Move it to the applications folder then the installation is completed.
Setup on the first time
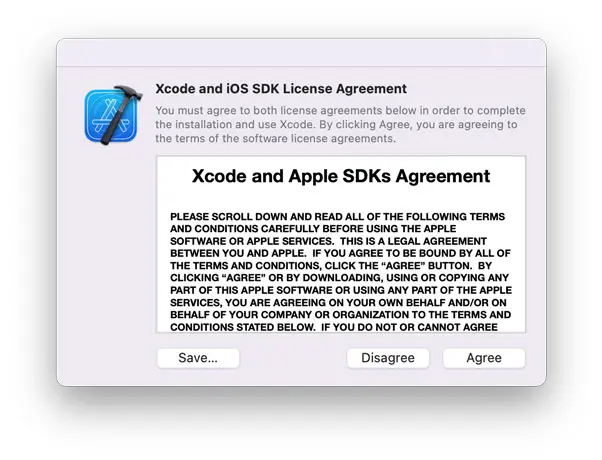
A license agreement dialog will appear when Xcode is launched for the first time, when updating the SDK, etc. You must agree to the license to use Xcode and the iOS SDK. Please click the “Agree” button to accept the license.
If you agree, an authentication dialog will appear to begin the installation of the required components. Enter the password of the logged-in user or authenticate with Touch ID. If the authentication is successful, the component will be installed.
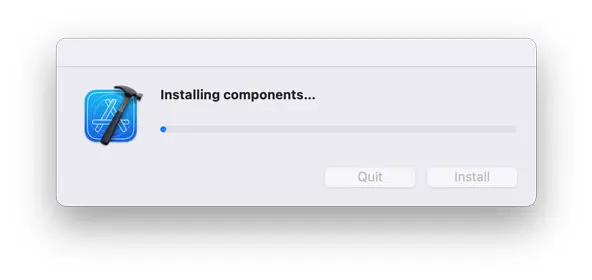
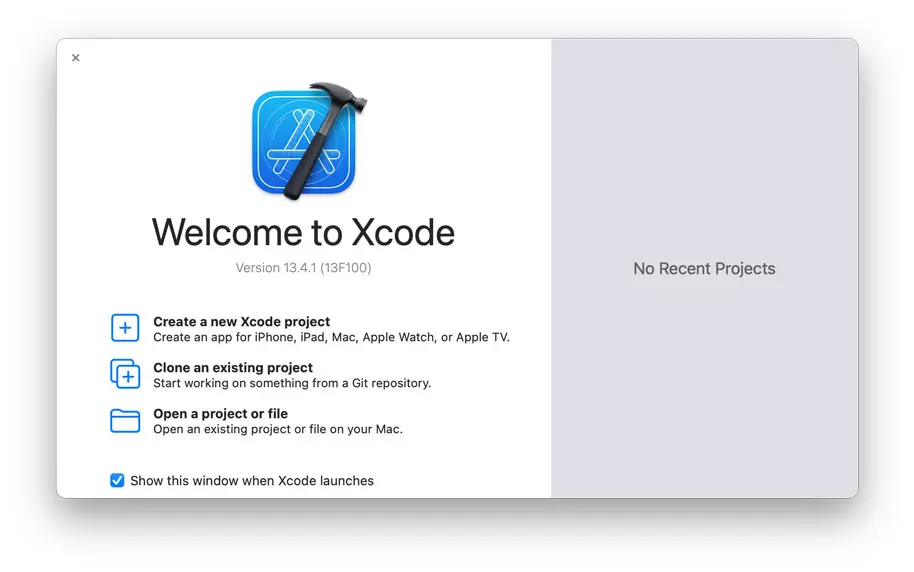
The “Welcome” window appears when the installation is completed.
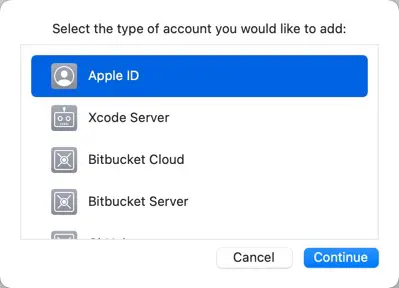
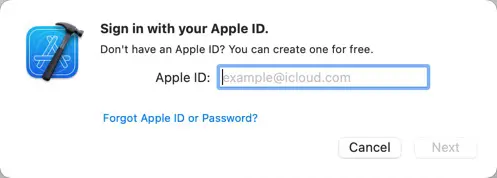
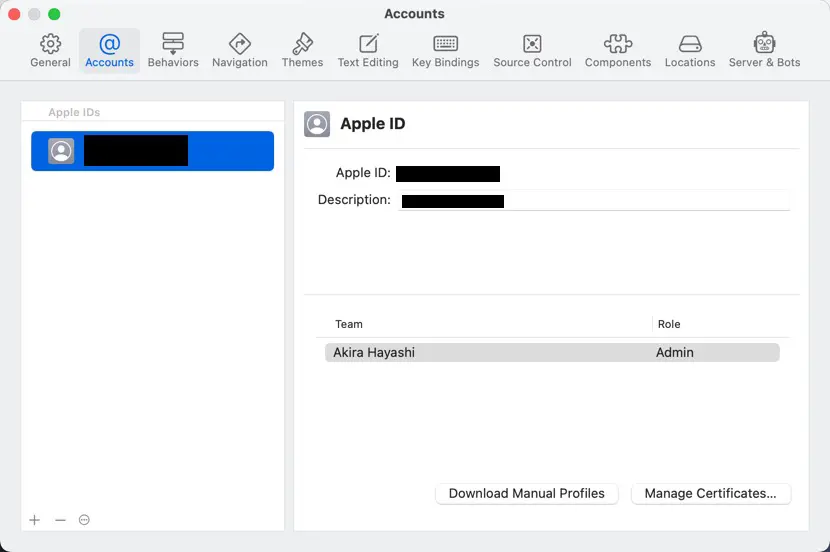
Sign in with Apple ID
Set the Apple ID to be used for development in Xcode as follows. If you have enrolled in the Apple Developer Program, use the Apple ID that you have enrolled with.

Highly Relevant Articles


