The Ai Toon Shader in Maya enables the rendering of cartoon-like images.
This article will guide you on how to use the Ai Toon Shader.
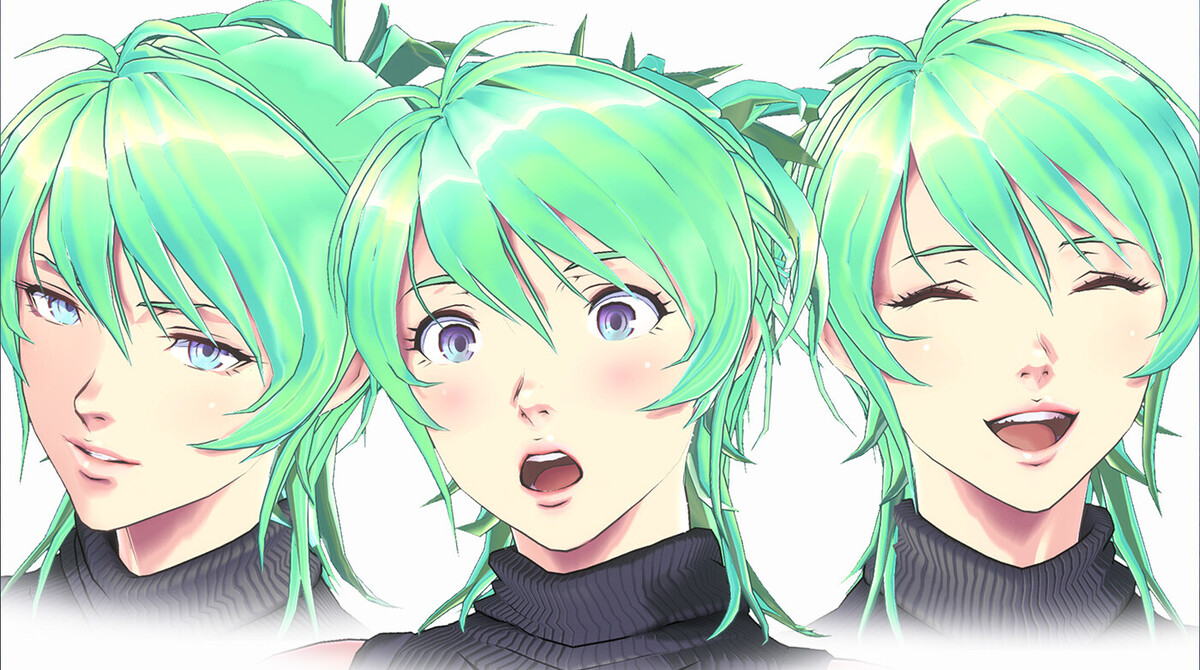
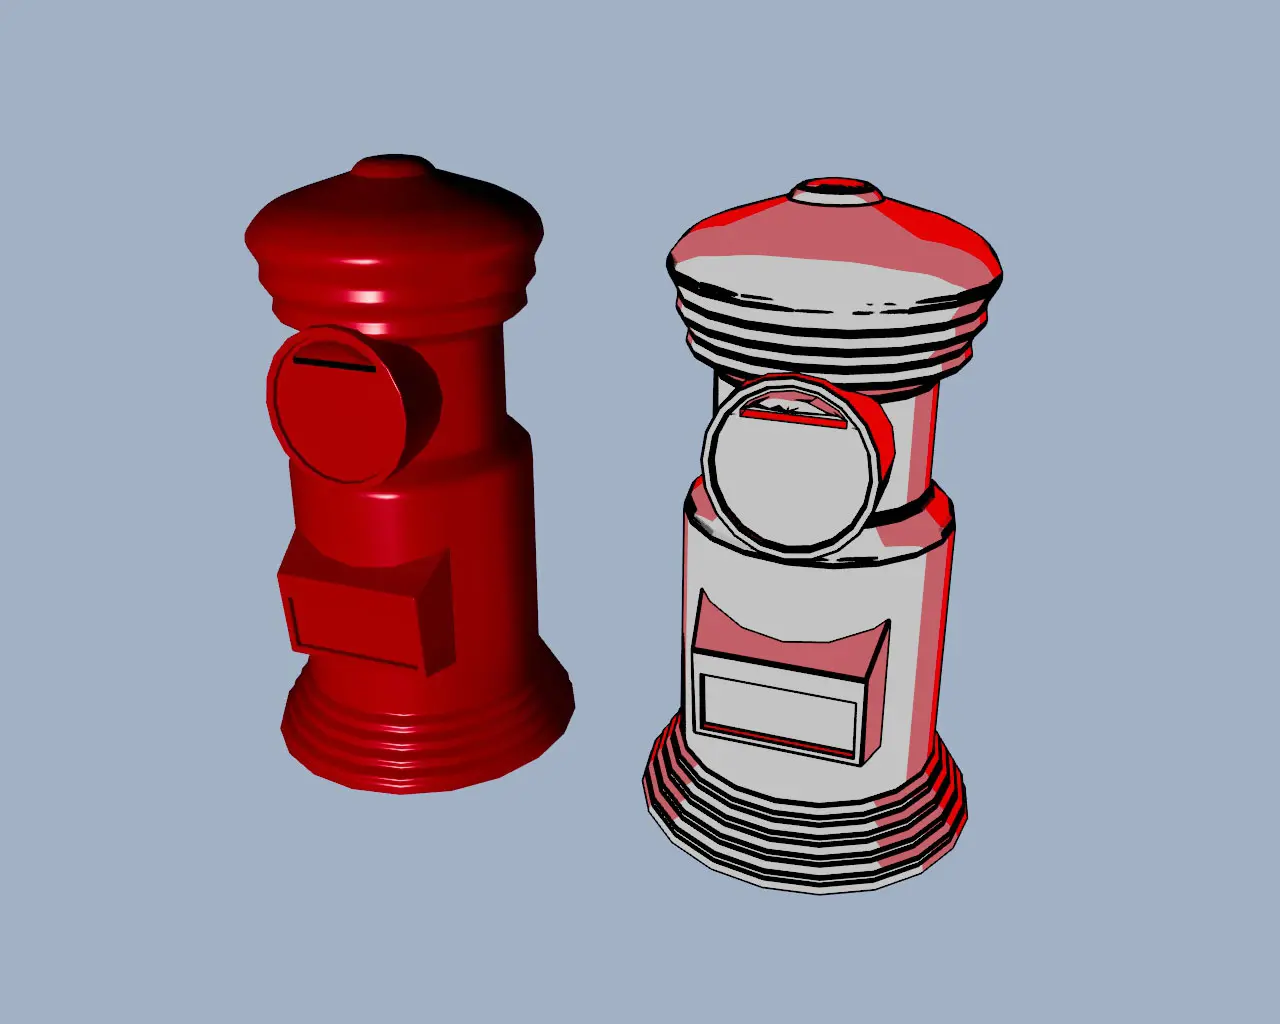
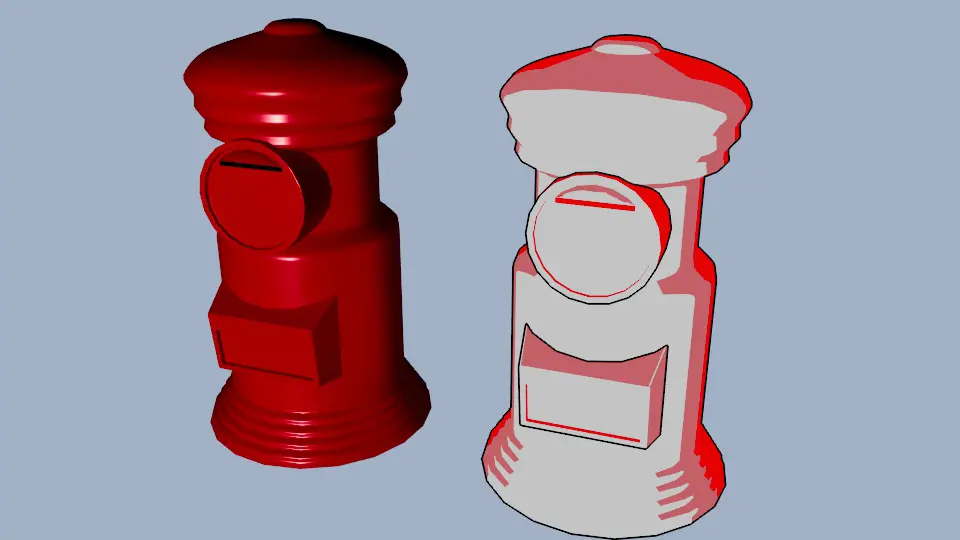
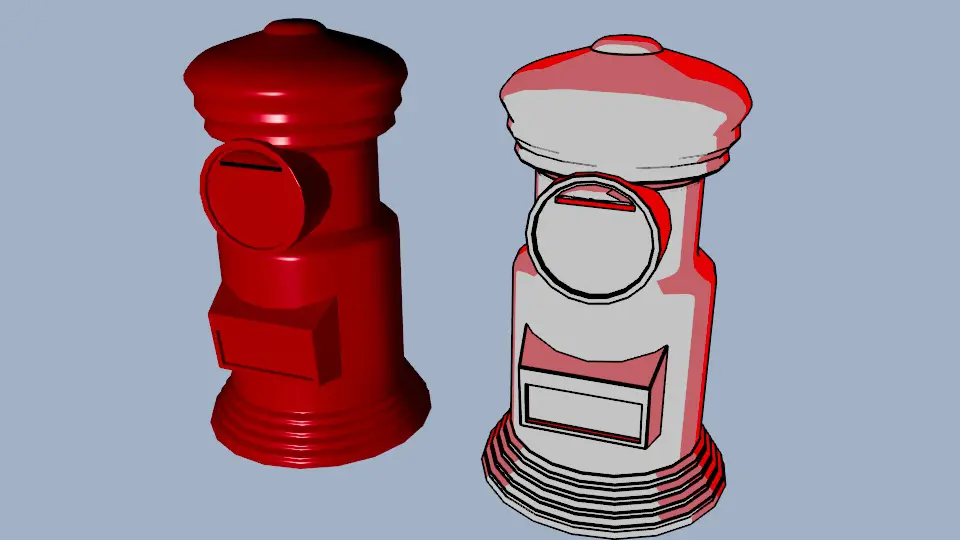
The rendering result of Ai Toon Shader
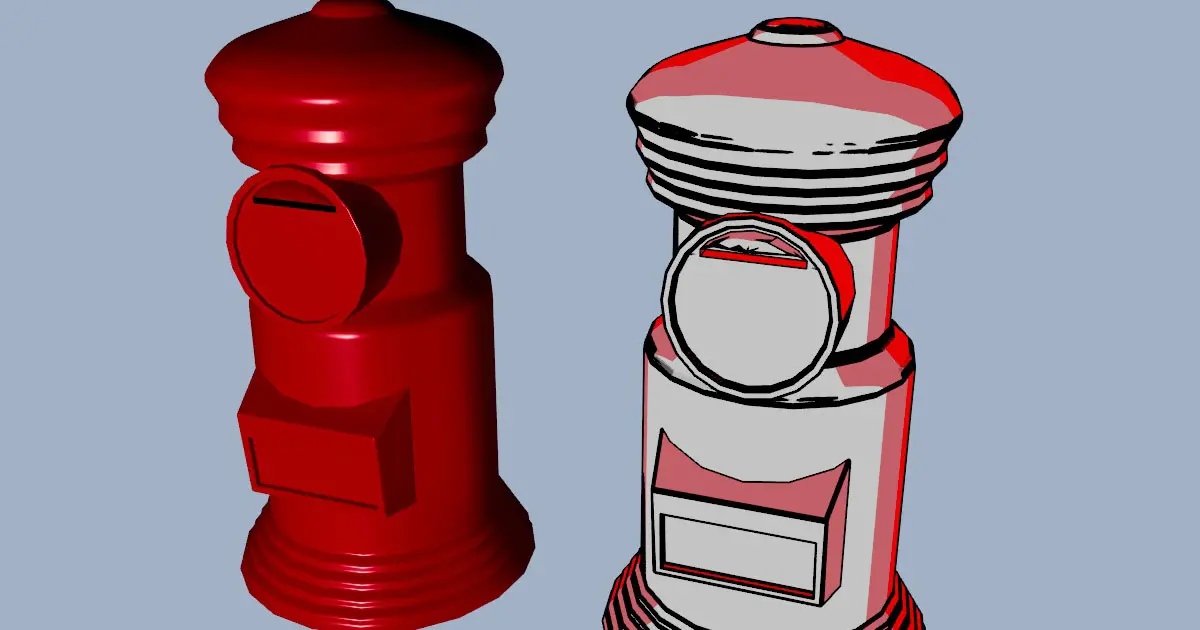
The following images compare the rendering result of Ai Toon Shader and Ai Standard Surface Shader.
The Ai Standard Surface generates the image on the left, and the Ai Toon Shader generates the the one on the right. Both shaders are applied to the same geometry. What are your thoughts on these images? The Ai Standard Surface produces a realistic result, while the Ai Toon Shader creates a more cartoon-like appearance.
I thought it looked like an American comic book when I first saw it.
How to configure the Ai Toon Shader
The node structure for the Ai Toon Shader is as follows.
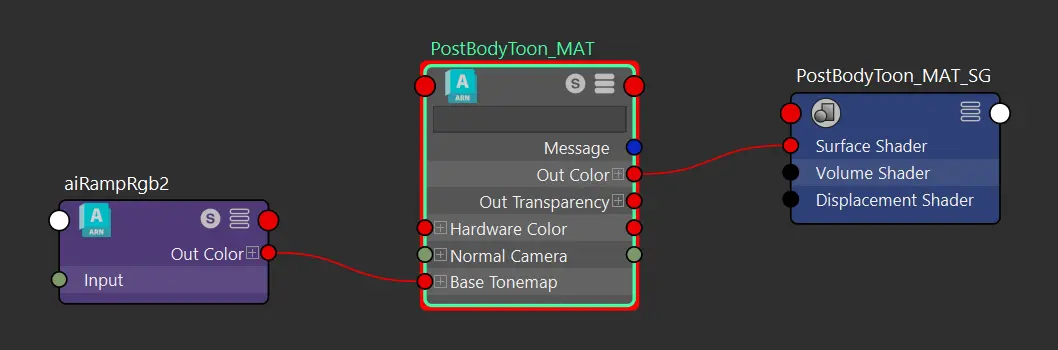
The “PostBodyToon_MAT” is the Ai Toon Shader, and the “aiRampRgb2” is the Ai Ramp Rgb.
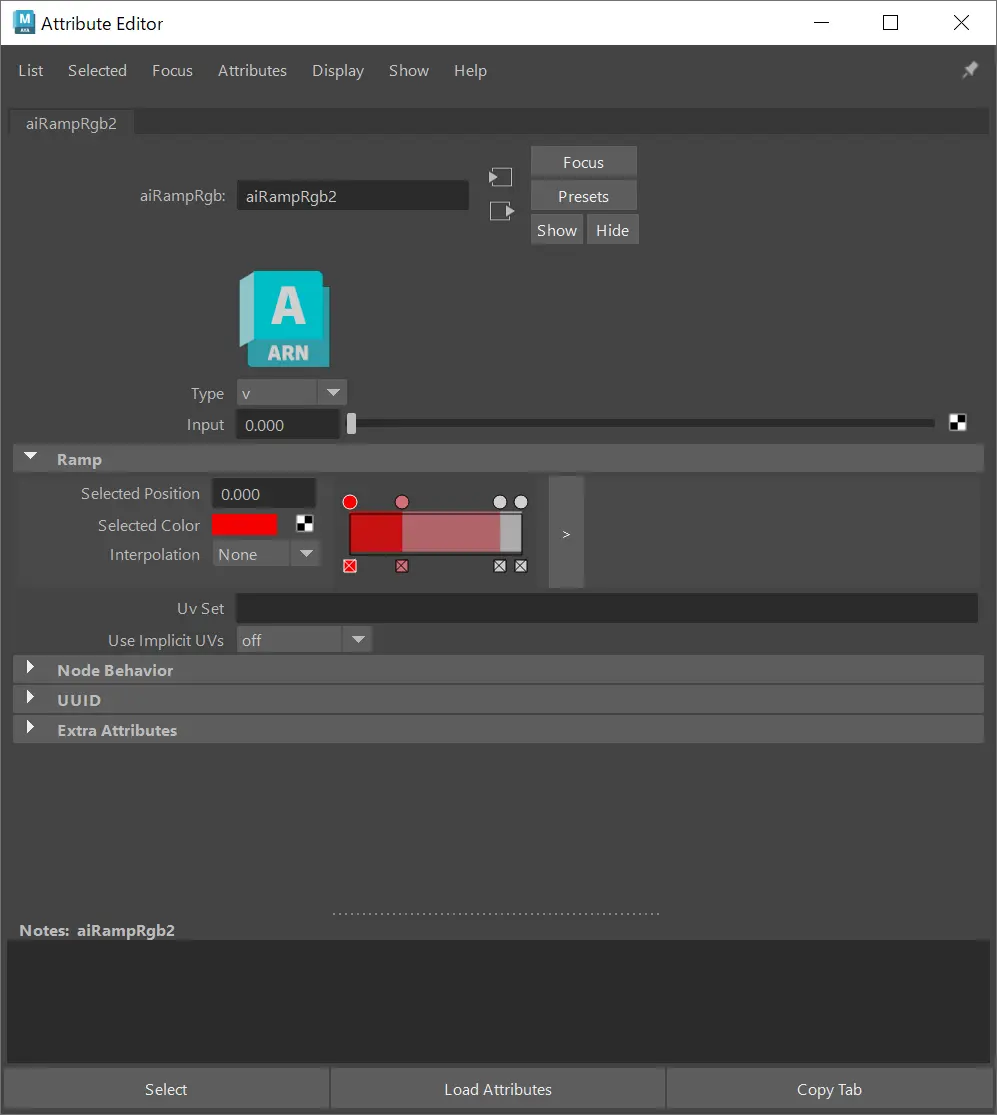
Configure the Ai Ramp Rgb
You can see the three different red colors in the right side image. The Ai Ramp Rgb generated these colors.
You should connect the “Out Color” of the Ai Ramp Rgb to the “Base Tonemap” of the Ai Toon, though it may not appear in the hyper-shade.
Follow the steps below.
(1) Open the Attribute Editor of the Ai Toon.
(2) Click the button with the square icon next to the Tonemap of the Base.
(3) Select the Ai Ramp Rgb.
Configure two or four colors to the Selected Color of the Ramp of the Ai Ramp Rgb in the Attribute Editor. Set the Interpolation of each color to None to change colors tightly.
Draw contour lines
To draw contour lines on edges, follow the steps below.
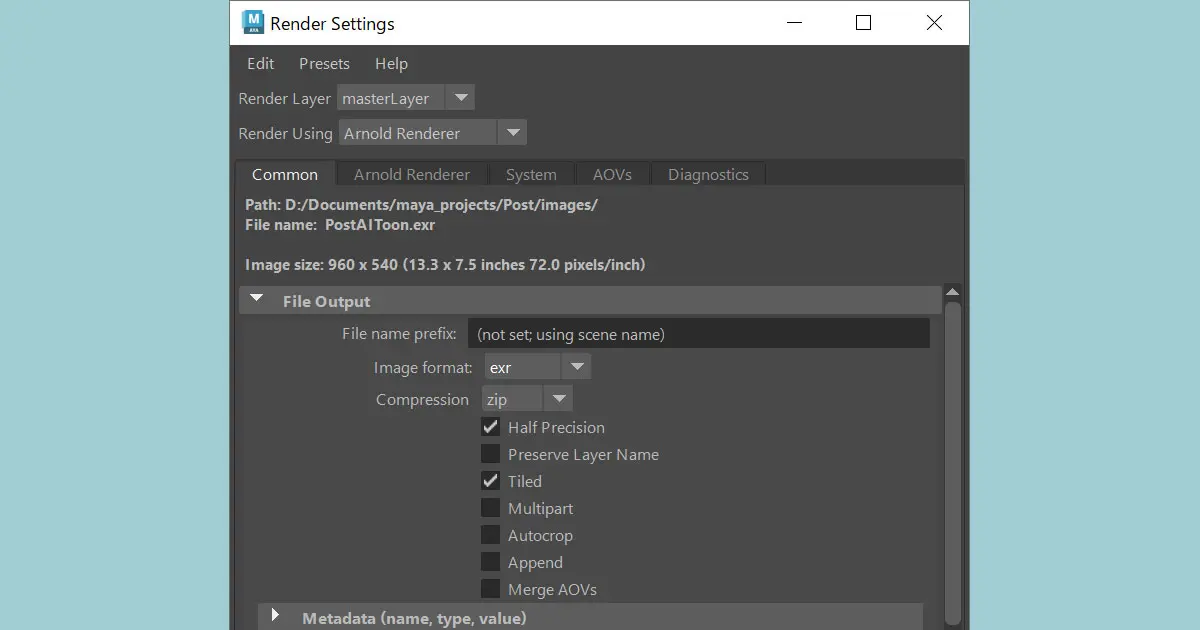
(1) Open the “Render Settings”.
(2) Select the “contour” from the “Type” of the “Filter” in the “Arnold Renderer” tab.
Set the “Width” to the default value “2.0”.

Adjust the appearance of contour lines
You need to adjust the “Angle Threshold” of the “Edge Detection” of the “Ai Toon”. Contour lines do not appear with the default value of 180.
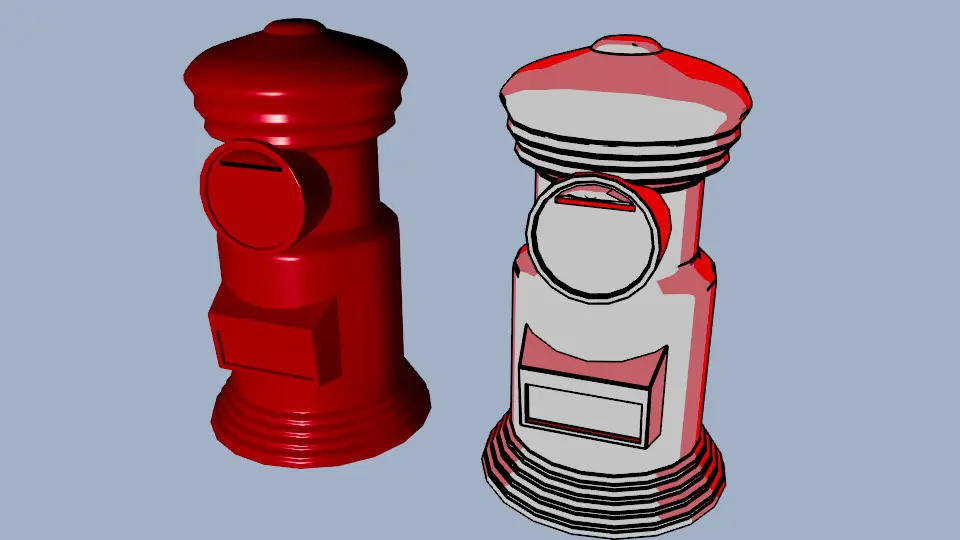
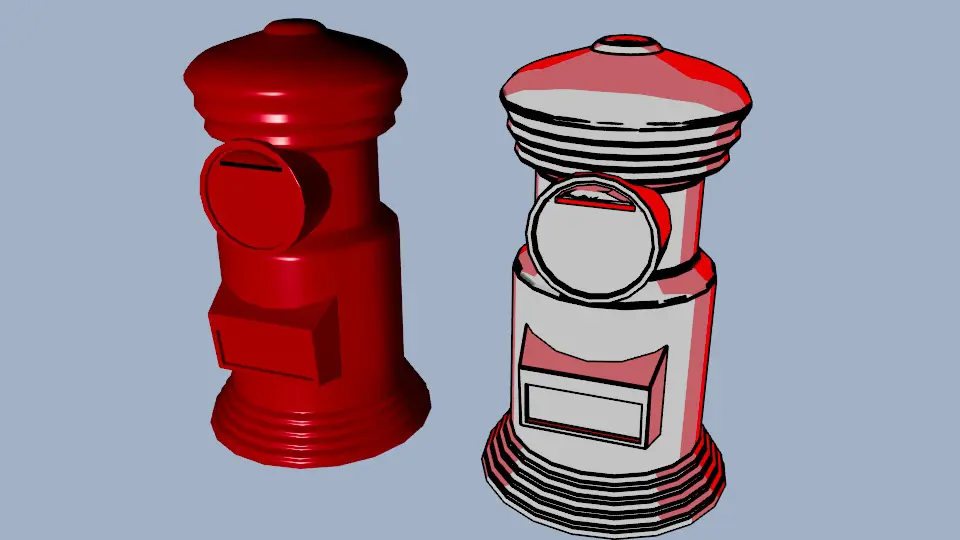
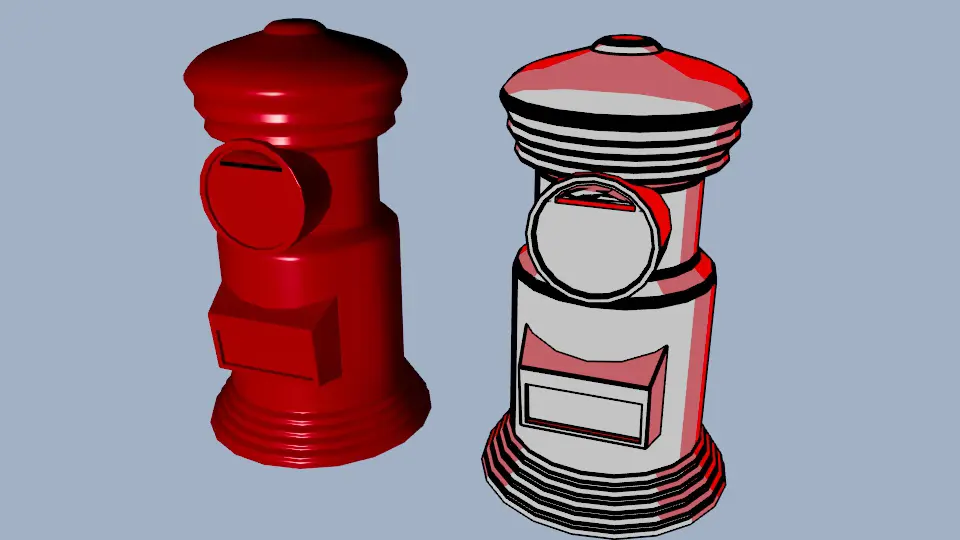
The light sources, camera position, and rendering resolution will all influence the outcome, necessitating some trial and error. For example, the following images are the rendering result with each value.

Summary
Through this article, you now have the tools to render cartoon-like images, albeit not cell-looking ones.
I had heard that 3D was also rendered in animation production, so I tried it, but it was slightly different. Upon further research, it seems that a plug-in called Pencil+ is often used.
You can also render the cell look with Ai Toon (Added May 9, 2022)
I researched Ai Toon, and I found the following website.
The outcome will depend on your specific configurations.
The article explains how to create the cel-look character with Maya
The article explains how to create the cel-look character with Maya and is available on the Autodesk::AREA JAPAN website.
It uses Unity for rendering, not Arnold.