


This article explains how to set the window size, maximum and minimum sizes in a SwiftUI app.
Defining a Window by WindowGroup
When you define a window using the WindowGroup, your code would look something like this:
import SwiftUI
@main
struct FrameSizeApp: App {
var body: some Scene {
WindowGroup {
ContentView()
}
}
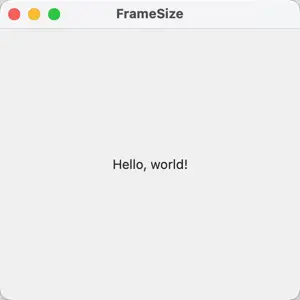
}The window’s root view is ContentView. SwiftUI automatically sets the window size to match the content view. In this example, the size of the ContentView is not specified. ContentView size depends on its contents.

Set the initial size, the minimum size, and the maximum size of the root view
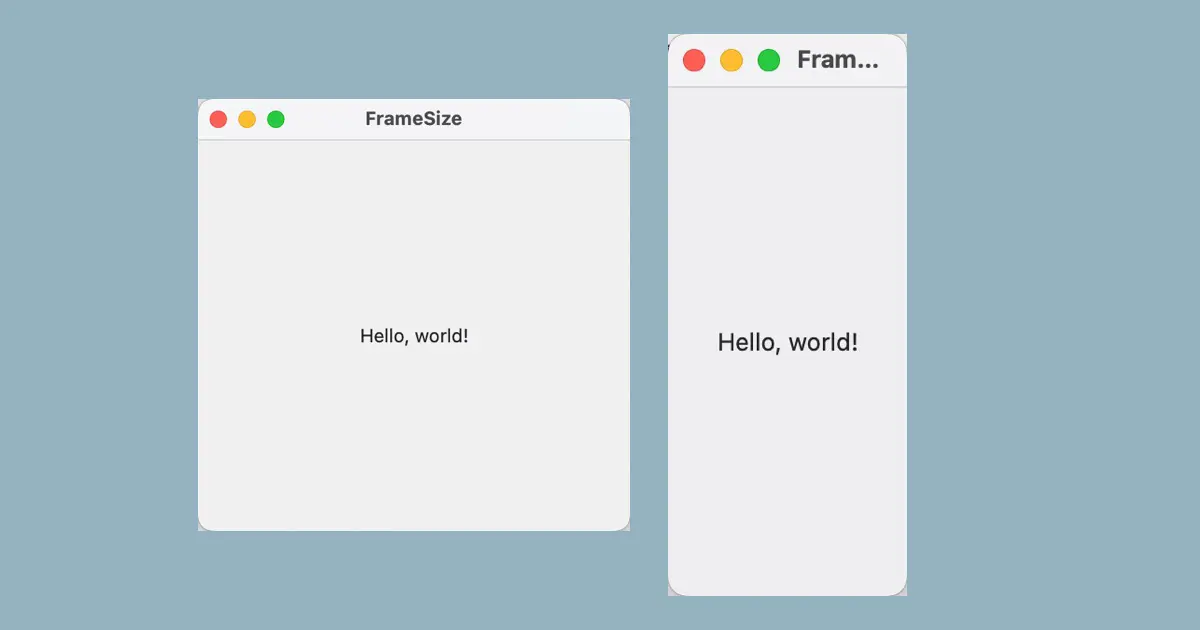
To set the initial, minimum, and maximum size of the ContentView, use the frame() modifier. In the following example, we set the initial size to 200px * 200px, the minimum size to 100px * 100px, and the maximum size to 300px * 300px.
import SwiftUI

@main
struct FrameSizeApp: App {
    var body: some Scene {
        WindowGroup {
            ContentView()
                .frame(minWidth: 100, idealWidth: 200, maxWidth: 300,
                       minHeight: 100, idealHeight: 200, maxHeight: 300,
                       alignment: .center)
        }
    }
}
Here’s what each argument means:
| Argument | Description |
|---|---|
minWidth
| The minimum width of the window. |
idealWidth
| The default width of the window. |
maxWidth
| The maximum width of the window. |
minHeight
| The minimum height of the window. |
idealHeight
| The default height of the window. |
maxHeight
| The maximum height of the window. |
alignment
| The alignment for the root view. |
alignment is not a window alignment
Please note that the alignment does not refer to the window’s alignment on the screen. It is an alignment of the root view in the window. The placement of the window is slightly above the center of the screen. It is visually accessible for the human.
Clear the saved window frame
SwiftUI automatically saves the window’s frame into the user defaults. The window’s frame will be restored when the application is relaunched. To clear the saved window’s frame, use the ‘defaults’ program.
defaults delete application-bundle-identifierHowever, be aware that the above command will clear all of the application’s user defaults. To delete only the window’s frame, delete only the entry which stores the window’s frame.
- You can display the contents of the application’s user defaults by executing the `defaults read` command.
- Next, you should look for the entry that stores the window frame.
- Then, you can delete this entry by specifying the its key.
com.rk-k.FrameSize is the example application’s bundle identifier. Replace it with your application’s bundle identifier.
% defaults read com.rk-k.FrameSize
{
    "NSWindow Frame SwiftUI.ModifiedContent<FrameSize.ContentView, SwiftUI._FlexFrameLayout>-1-AppWindow-1" = "140 1122 190 190 0 0 2560 1415 ";
}
% defaults delete com.rk-k.FrameSize "NSWindow Frame SwiftUI.ModifiedContent<FrameSize.ContentView, SwiftUI._FlexFrameLayout>-1-AppWindow-1"


